Durex Build has repeatedly featured among the top Kodi builds in the recent times. This build dramatically changes the look and feel of Kodi, makes the Kodi UI way more intuitive, adds loads of new features and functions and enhances your Kodi experience manifolds. Durex Build for Kodi 17.6 Krypton brings along a big library of add-ons that you can access with the touch of the button, without having to install them individually.
Placenta, Neptune Rising, Uranus are some of its pre-installed, featured addons, but the list doesn’t end here. Well, it probably starts here. Explore its collection of Kodi addons and you will find just about everything for your entertainment needs. Durex Kodi builds also add several new scrapers to ensure the best streams are presented to you when the addon looks up the sources for your favorite content.
Durex Build works smoothly on all the Kodi supported devices including smartphones, computers, and TV streaming devices. In fact, it is perfect for the jailbroken FireStick and Fire TV devices. All in all, Durex is one incredible Kodi build and I am going to help you get it right away. In this guide, I will show you how to install Durex Build on Kodi. Keep reading!
HOW TO INSTALL DUREX BUILD ON KODI 17.6
Note: The following installation method works on all the Kodi supported devices such as smartphones, computers, FireStick, etc.
Durex is a third-party Kodi build and to install such builds we need to allow the Unknown Sources within Kodi. So, before we move ahead, here is what you need to change the security settings:
Go to Kodi home-screen and navigate to Settings > System Settings > Add-ons. On the right, you will see the ‘Unknown Sources’ option. If it is disabled or off, turn it on by moving the toggle next to it as shown in the image below
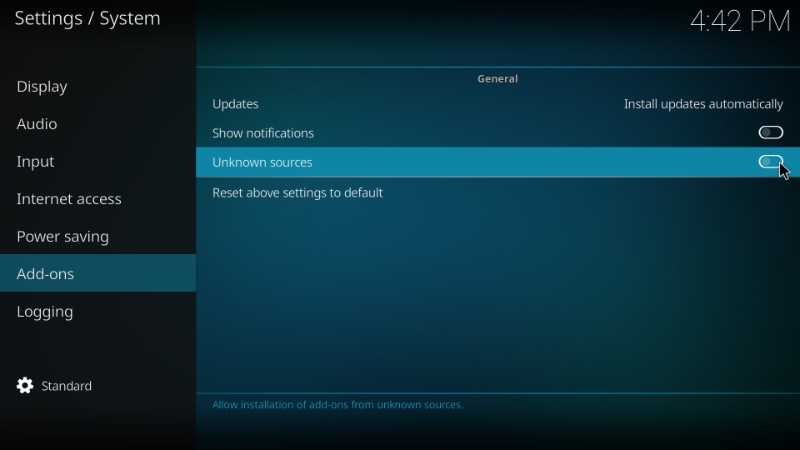
When the following warning message pops-up, simply click ‘Yes’ and ignore it. Durex build is one of the most trusted Kodi builds.

Now you are all set to install Durex Kodi build.
Installing a build is slightly different from installing a simple add-on. To make sure things remain simple, I have broken down the process into 3 different steps as follows:
–       STEP 1: Add Source of the Durex Wizard to Kodi
–       STEP 2: Install Durex Wizard from the Source
–       STEP 3: Install Durex Build on Kodi using Durex Wizard
Let’s take a look at each one by one.
I personally use and recommend IPvanish which is the best VPN for Kodi.
STEP 1: Add Source of the Durex Wizard to Kodi
This is the part where we point Kodi to the Durex wizard server location. Here is how it goes:
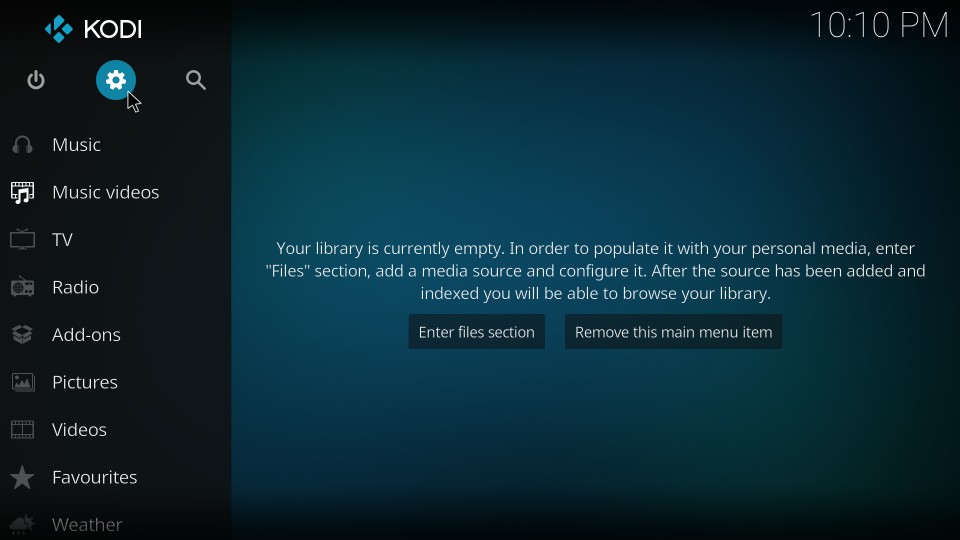
#1. Open the ‘Settings’ menu by clicking the cog/gear icon on the upper left of the Kodi home-screen, just underneath the Kodi logo
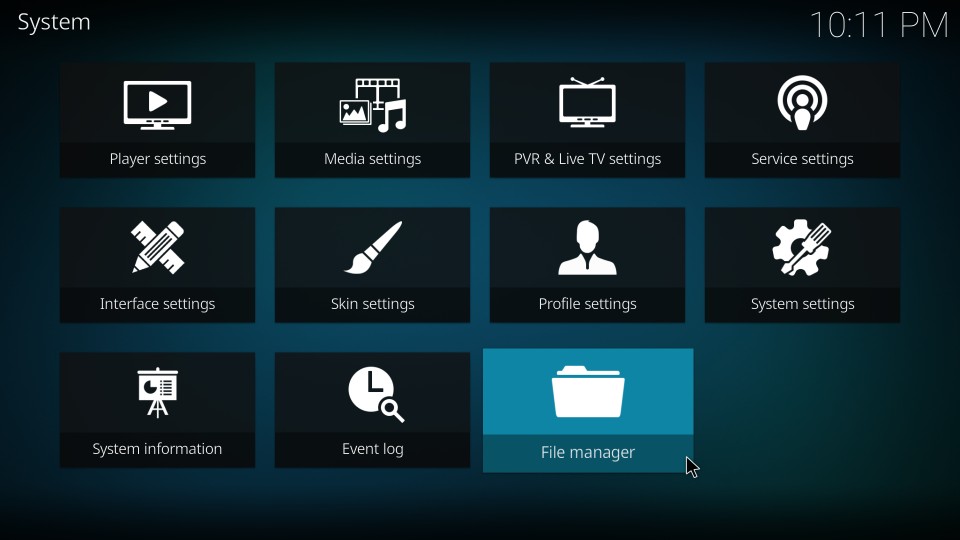
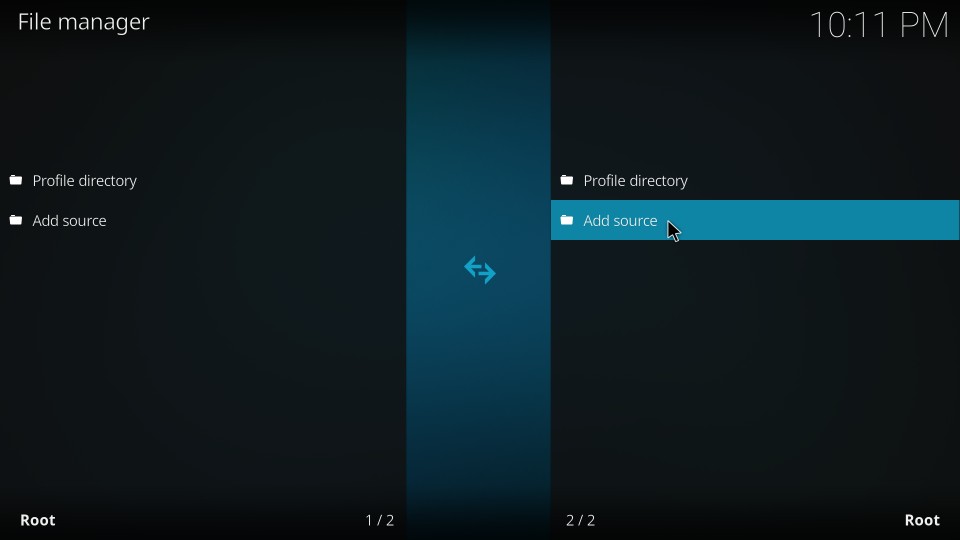
#2. Now go ahead and open ‘File Manager’
#3. Click ‘Add source’ in the next window. If you have too many sources, you may need to scroll down a bit to find this option.
#4. When you see the following dialogue box, click ‘’
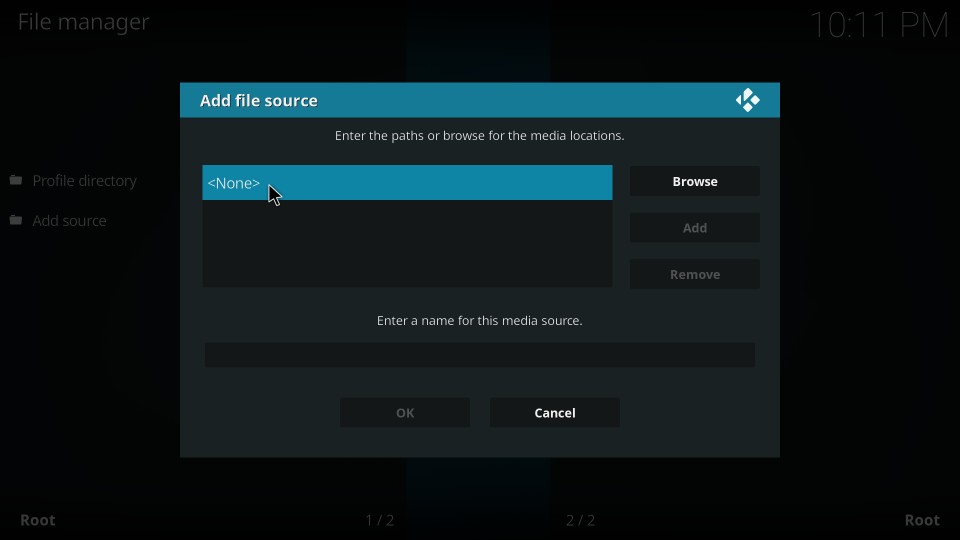
#5. Enter the source URL as www.drxbld.com/wiz/
This is the part where it is important to be careful. A single typo will fail the process. So, type in the URL exactly as I have provided.
Click ‘OK’ after entering the URL
#6. Now click the box underneath the ‘Enter a name for this media’ source and type in ‘Durex’ (without quotes). In fact, you may enter any name of your choice. I would recommend using a name you can easily identify this source with later. Hit OK after entering the name

Alright! That’s how you add the source. Let’s move to the next part.
STEP 2: Install Durex Repository from the Source
In this part, we will add the Durex Repository on Kodi from the source we just added. Here are the steps:
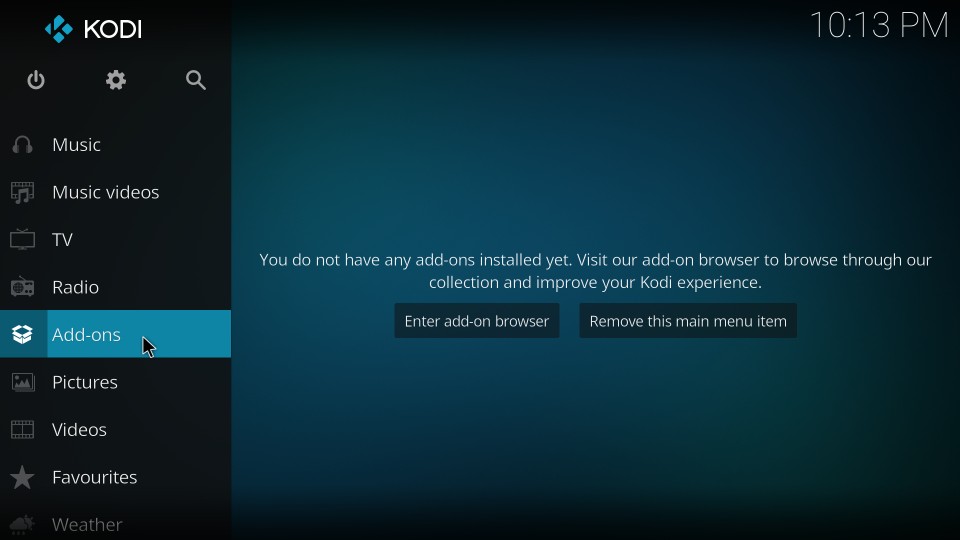
#1. Go back to Kodi home screen and click ‘Add-ons’
#2. Locate and click the ‘Package Installer’ option. It is on the upper left and looks like an open box as shown in the image below
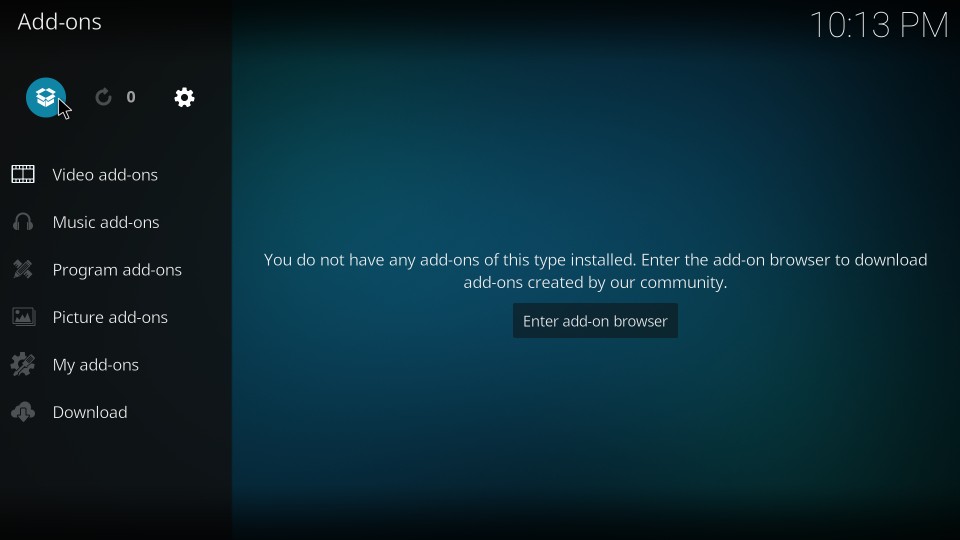
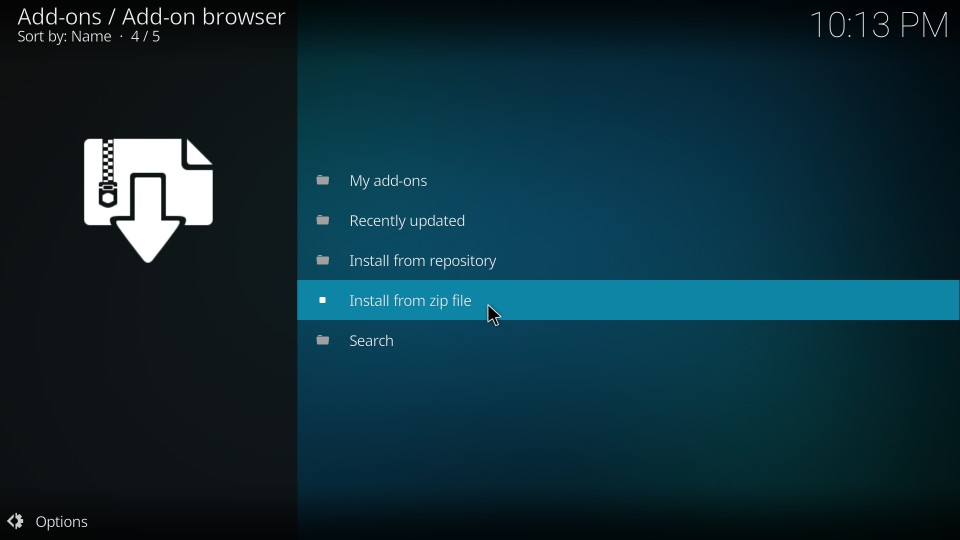
#3. The next thing you need to do is click ‘Install from zip file’
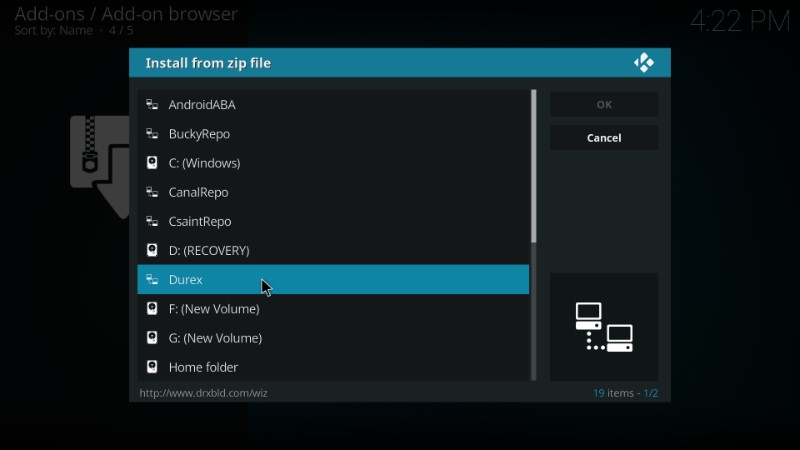
#4. Now locate the source name you added a little while back and click it. In this guide, we chose the name ‘Durex’. So, that’s what I am going to click
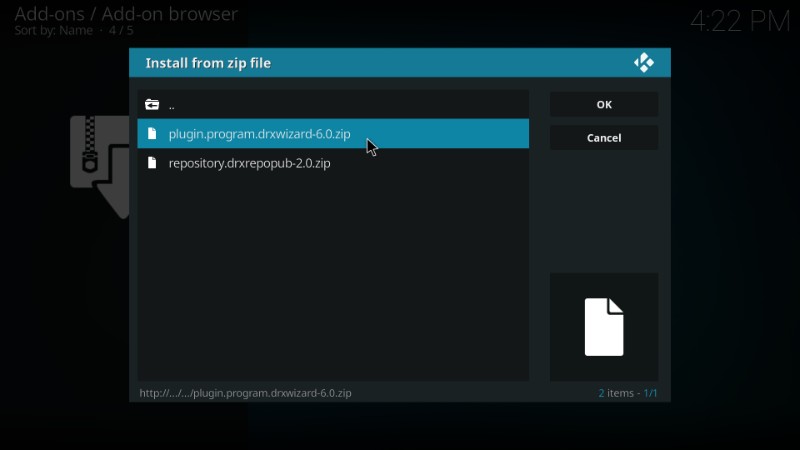
#5. You should now see a couple of zip files here. What we want to unpack is the file named ‘plugin.program.drxwizard-6.0.zip’. Select and click this file. Remember that 6.0 is the version number at the time of writing this guide. It may change if a new version is released.
#6. Now, wait for the ‘Durex Wizard Add-on installed’ notification that will appear on the top right. It may take a while (3-4 minutes)

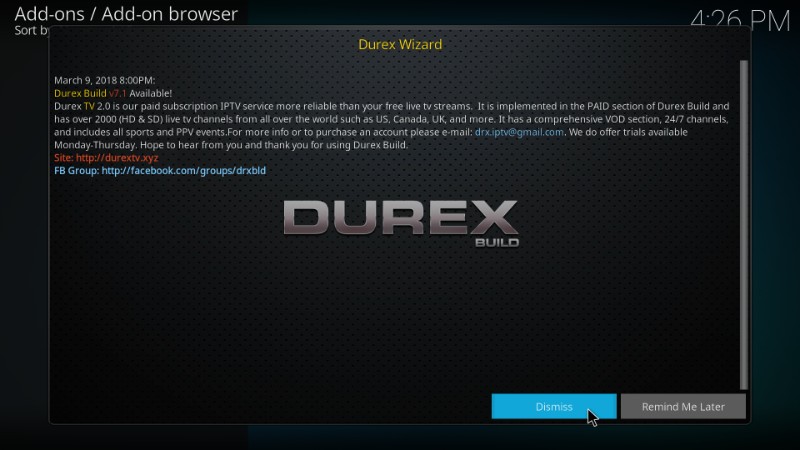
#7. You have successfully installed the Durex Wizard from the source. But, before we install the Durex Kodi build, we will need to get past some pop-up messages. For instance, when you see the following pop-up, click ‘Dismiss’ button at the bottom
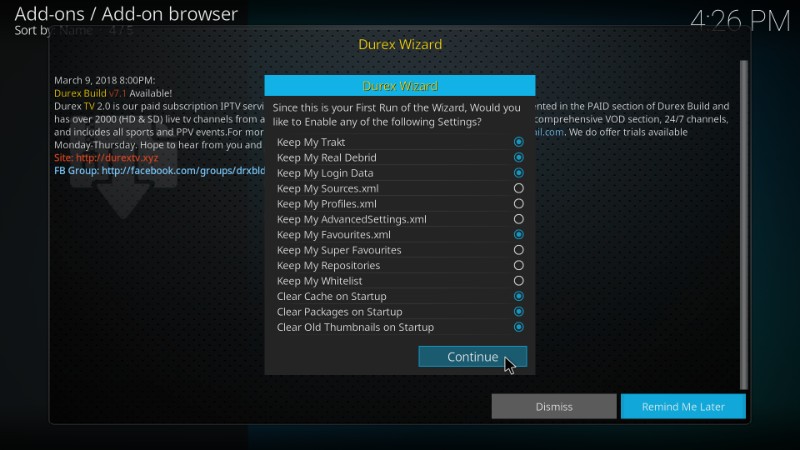
#8. Now you will see this pop asking you to enable any of the listed settings. If you think you want to make some changes, select the options accordingly. If there is nothing to change, simply click ‘Continue’
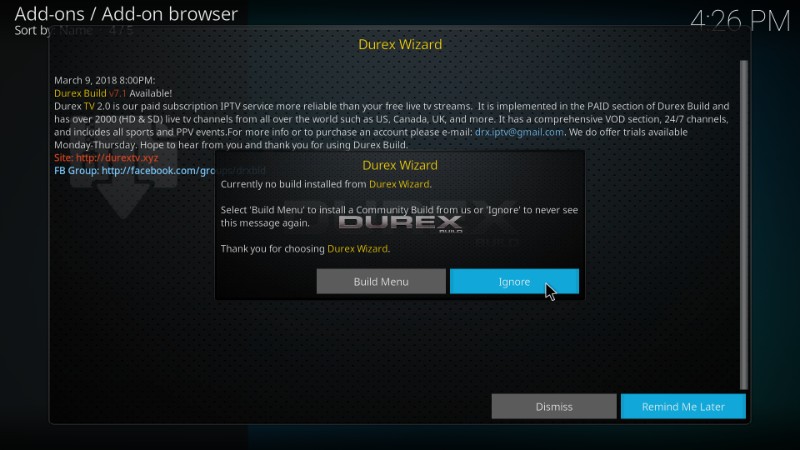
#9. Another pop-up will appear asking if you would like to open the build menu. We will do that later. So, simply click ‘Ignore’ to continue.
So, basically, you need to keep clicking Dismiss, Continue and Ignore until you finally get rid of the pop-ups.
Once that’s done, we can install Kodi Durex build using the Durex Wizard.
STEP 3: Install Durex Build on Kodi using Durex Wizard
Alright! Let’s now get going with the final phase of the installation process. We are now going to install the Durex Kodi build through the Durex Wizard we just installed. Here are the steps to follow:
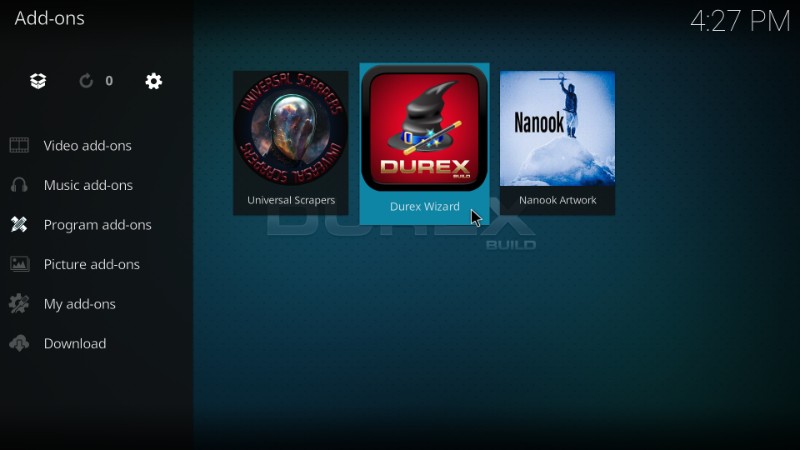
#1. Go back to the Kodi home-screen and navigate to Add-ons > Program Add-ons. You should be able to see the Durex Wizard icon here. Go ahead and open it.
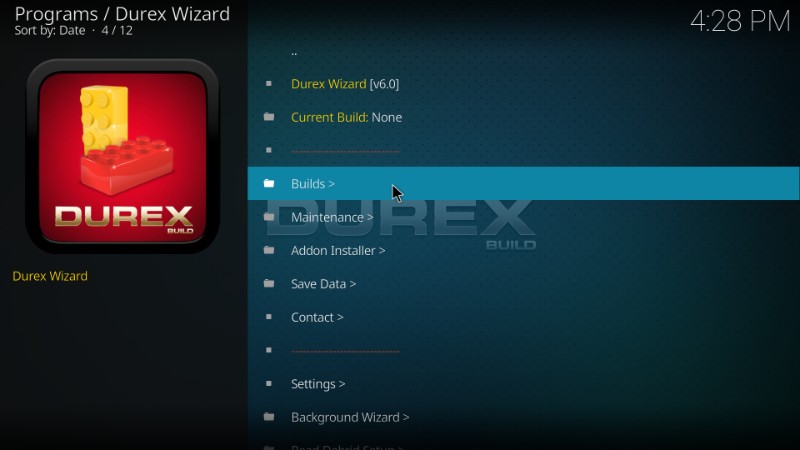
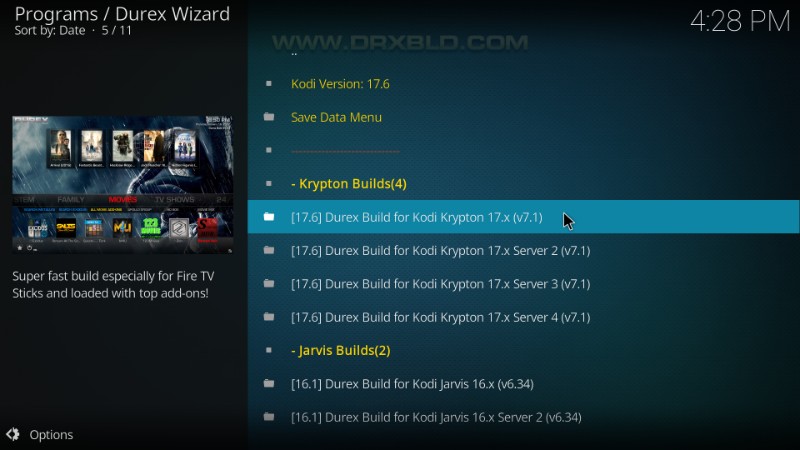
#2. Now open the option ‘Builds >’ from the list
#3. You will see the Kodi Durex Build under Krypton Builds heading. As you can see, there are multiple servers to install this build from. You can choose any server you like. However, if one server isn’t working, you can always pick another one.
The first one worked for me. I am going to go ahead and open it.
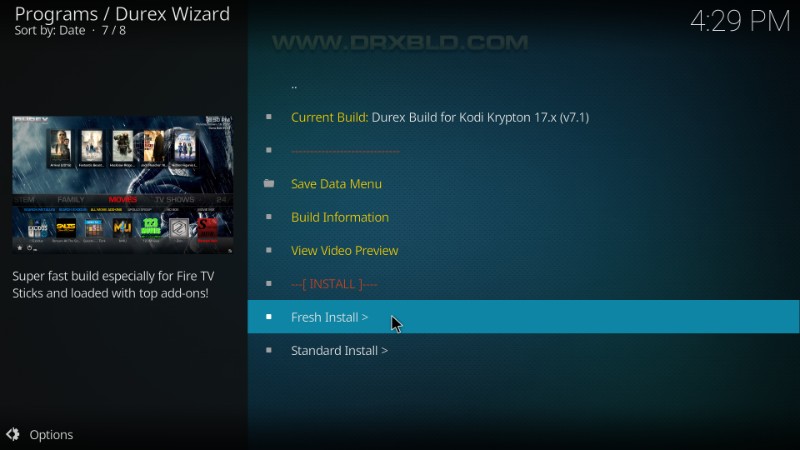
#4. Now you need to choose between ‘Fresh Install’ and ‘Standard Install’. As you may have guessed, Fresh Install will wipe out all my existing Kodi data and reset it to factory defaults before installing the Durex Build on Kodi.
Standard Install, on the other hand, will restore some data. But, there is no guarantee it will retain all of it.
I don’t have any important data to keep. So, I will go ahead with the Fresh Install.
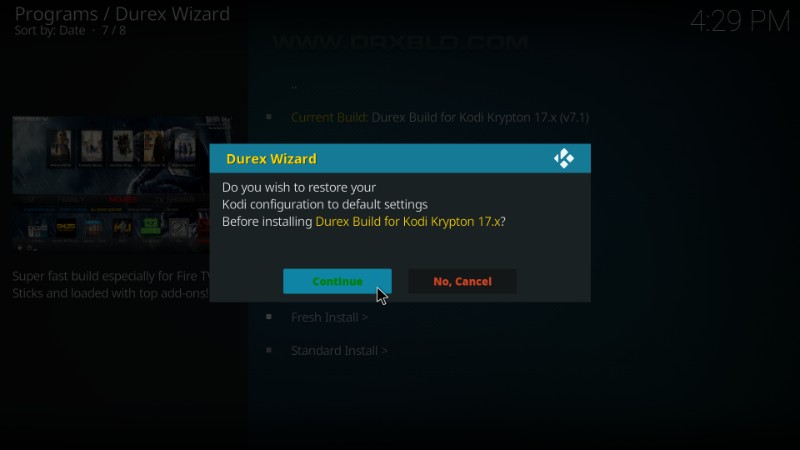
#5. It will ask if you wish to reset Kodi configuration to default. Click ‘Continue’
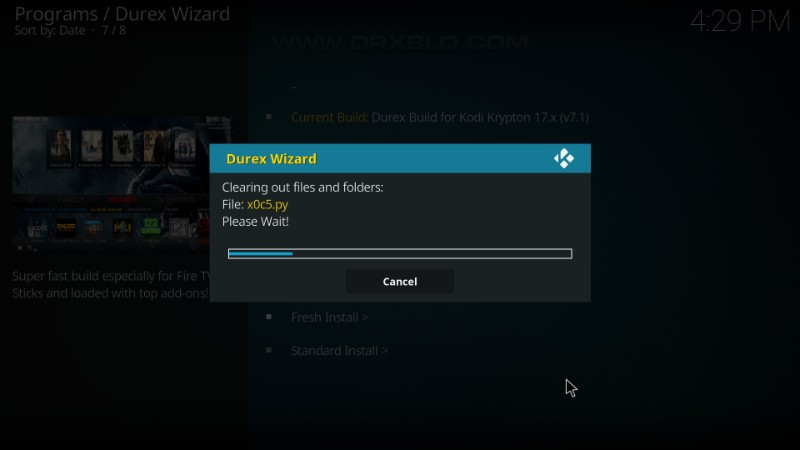
#6. Durex Kodi build will now begin to install. It may take 4-5 minutes or even more. Wait for the download to complete.
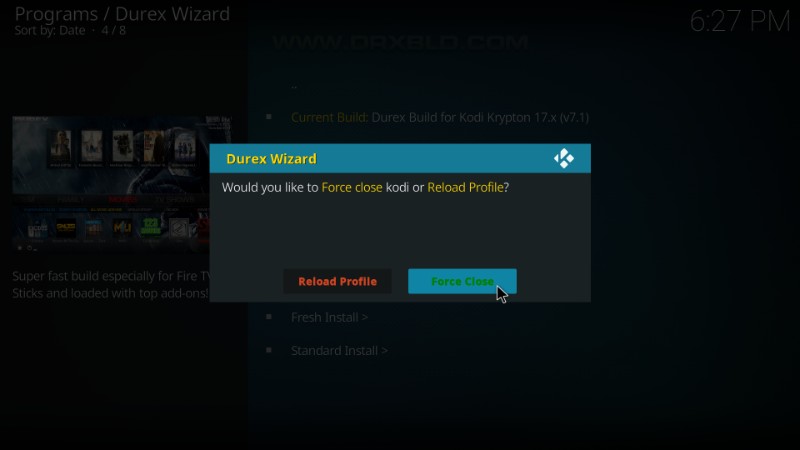
#7. Once the Durex Build installs on Kodi, this is the message you will see. ‘Reload Profile’ doesn’t really do much. So, I will click ‘Force Close’. This will terminate Kodi application.
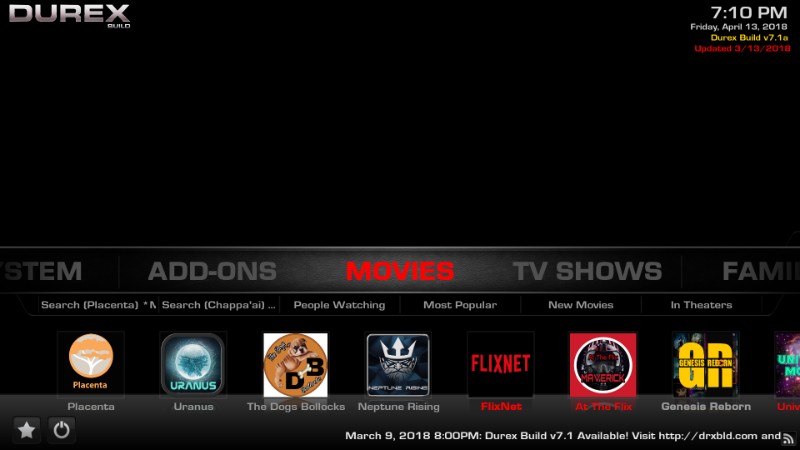
#8. Now, relaunch Kodi application on your device. This is how the home screen of Kodi will look like with the Durex Build.
That is all you need to do to install Durex Kodi build!
Conclusion: Durex Kodi Build
Durex Build is easily one of the best Kodi builds I have come across recently. Despite being feature-rich, it goes easy on my device. It has a solid collection of pre-installed addons. Durex Build is also good to look at and interact with. I hope this guide helped you install Durex Build without any hassles. If you have any questions or comments, fill us in through the comments section below.
Related:
How to install Titanium Kodi Build
How to install BK Links Build
How to install No Limits Magic Build
Disclaimer –Â Husham.com.com do not host or link to copyright-protected streams. We highly discourage piracy and strictly advise our readers to avoid it at all costs. Any mention of free streaming on our site is purely meant for copyright-free content that is available in the Public domain. Read our full disclaimer.
(function(d, s, id)
var js, fjs = d.getElementsByTagName(s)[0];
if (d.getElementById(id)) return;
js = d.createElement(s); js.id = id;
js.src = “http://connect.facebook.net/en_US/sdk.js#xfbml=1&version=v2.6”;
fjs.parentNode.insertBefore(js, fjs);
(document, ‘script', ‘facebook-jssdk'));
Written by David Minister