I am going to show you how to install HardNox Kodi build in this guide. The images in this guide were captured on a computer, but the process works just as well on all the Kodi devices such as FireStick, Android mobile devices, Android TV etc.
Kodi’s true potential is unleashed through add-ons that are abundantly available on the web. But, there are so many of them to choose from, I often get confused. Yes, I can handpick and install some popular addons but I am always in need of more. There is so much to watch and I can’t always pick the right addon. That’s the reason why I have started relying on the Kodi builds like HardNox.
A build like HardNox makes my life easier and my Kodi experience a whole lot better. This build packages tons of top-quality add-ons for a wide range of streaming choices. Whether you want to watch movies, TV shows, news, sports content, adult stuff, or even live TV, HardNox Kodi build has it all for you. And, before I forget, let me tell you that everything here is free.
Let me guide you through the step by step process to install Hard Nox build on Kodi.
Steps to Install HardNox Kodi Build
You would probably already know that Kodi has a security setting that wouldn’t let you install the third-party builds and addons by default. So, before we start with the HardNox installation, there’s a setting we are going to change. Here is what you need to do:
1. Launch Kodi and stay on the home screen. From the home-screen click ‘Settings’, which you will find on the upper-left corner
2. Click ‘System settings’ on the next screen
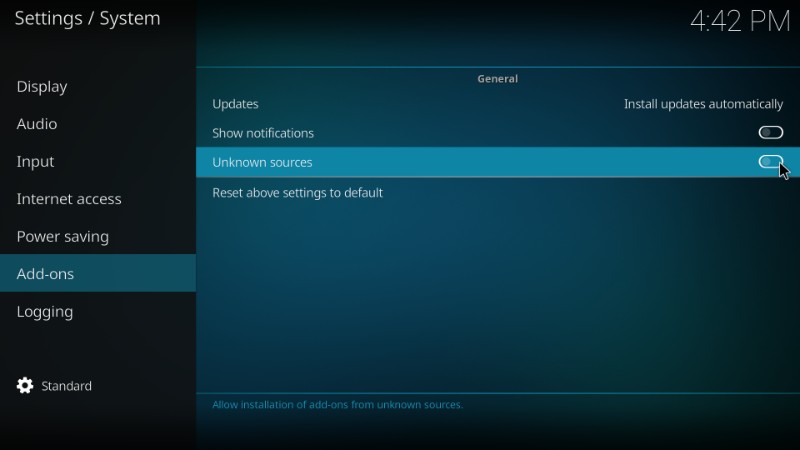
3. Now go ahead and select ‘Add-ons’ on the list on the left sidebar. On the right of the window you will see ‘Unknown Sources’ and a switch next to it. Click the switch to the ON position
4. A prompt will appear asking for your confirmation. Click ‘Yes’ to proceed
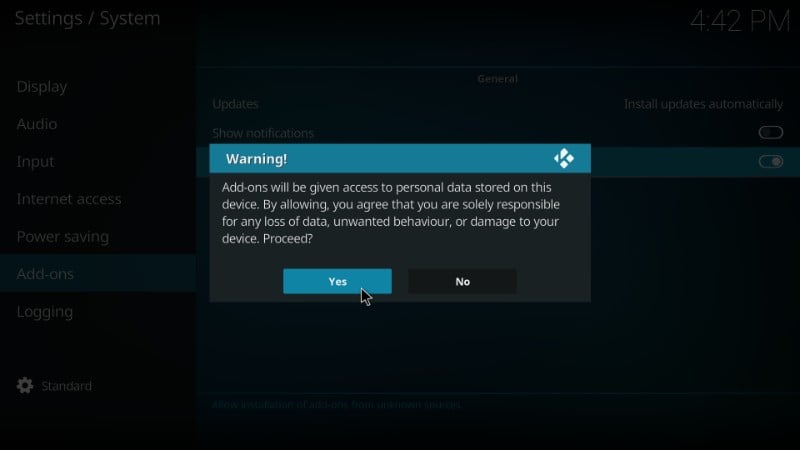
Hard Nox Kodi Build is 100% safe. So, do not hesitate while clicking Yes above.
Now, I am going to show you how to install Hard build on Kodi. The process could get a little lengthy. Therefore, I will divide it into four easy steps. Here is how we will proceed:
- Add the source to install the Misfit Mods repository
- Install the Misfit Mods repository from the source
- Install Misfit Mods Wizard from the repository
- Install Hard Nox Kodi build from the Misfit Mods Wizard
Let us now go through each part one by one
Add the source to install the Misfit Mods repository
Follow the steps below to add the source:
1. Return to the home-screen of Kodi and click ‘Settings’ on the upper-left corner, just under the Kodi logo
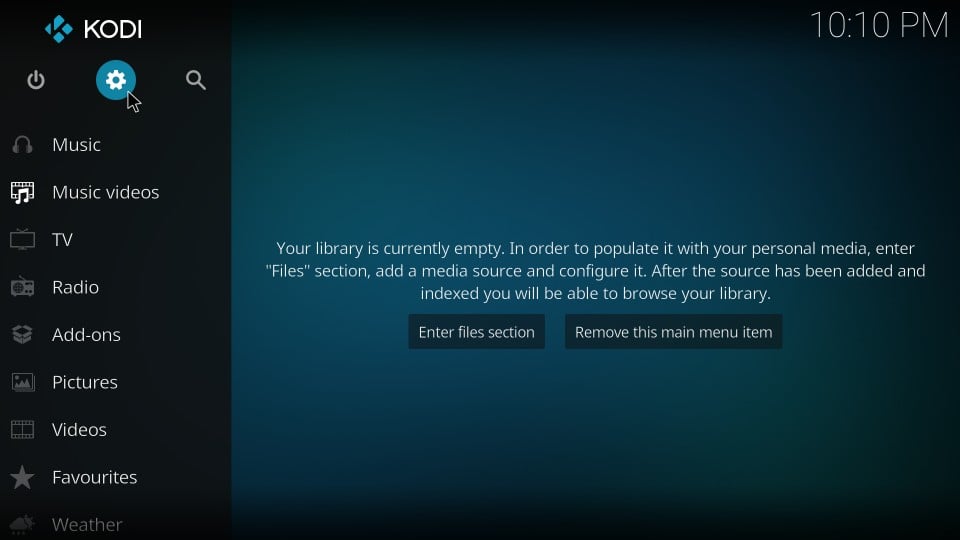
2. Click ‘File manager’ from the list of the available options on the next screen

3. Now go ahead and click ‘Add source’

4. Next, click the option ‘’ as you can see in the image below
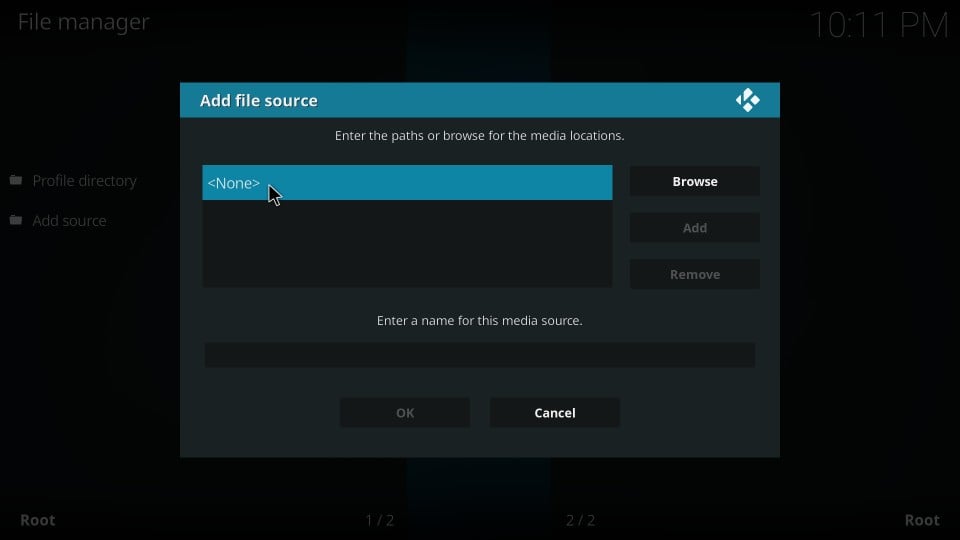
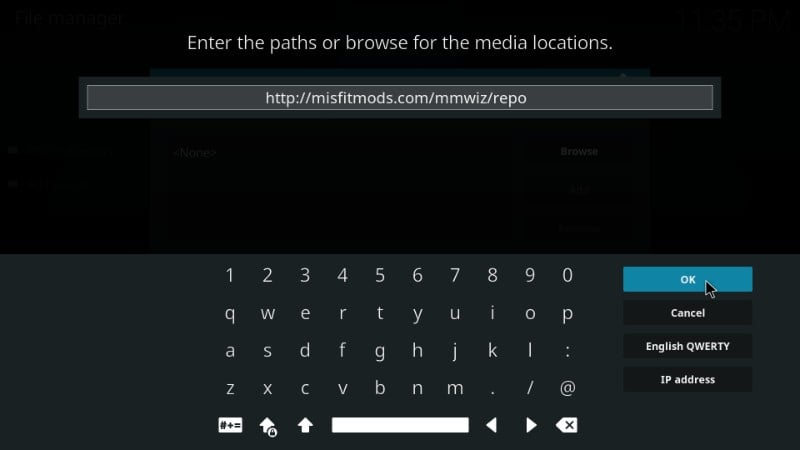
5. A new window will pop-up with an onscreen keyboard. Enter the URL of the Misfit Mods source misfitmods.com/mmwiz/repo/
It is important to enter the URL exactly as shown here. Typos will lead to errors and installation problems. Click ‘OK’ when you are done typing
6. Type in a name you want to identify this source with. I recommend choosing something relevant as you would need it later. I am choosing ‘misfit’ as you can see in the image below. The name goes in the ‘Enter a name for this media source field’. Click ‘OK’ when you are ready
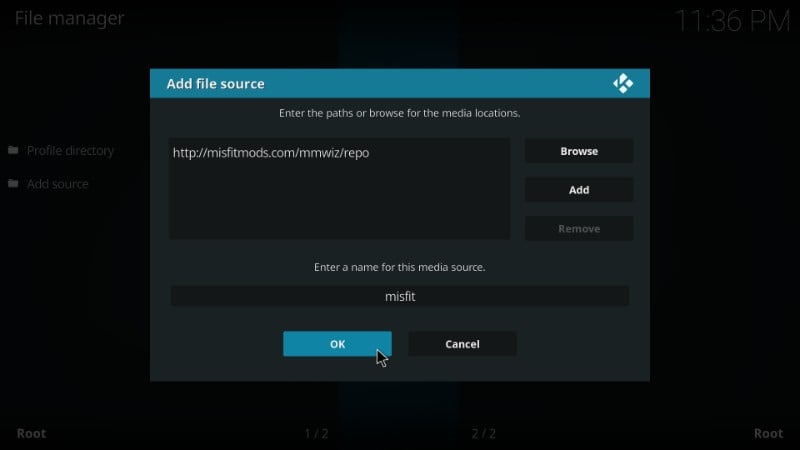
This adds the source. Now, let’s install the Misfit Mods repository.
Install the Misfit Mods Repository
Follow the easy steps below to install the repository on your Kodi app:
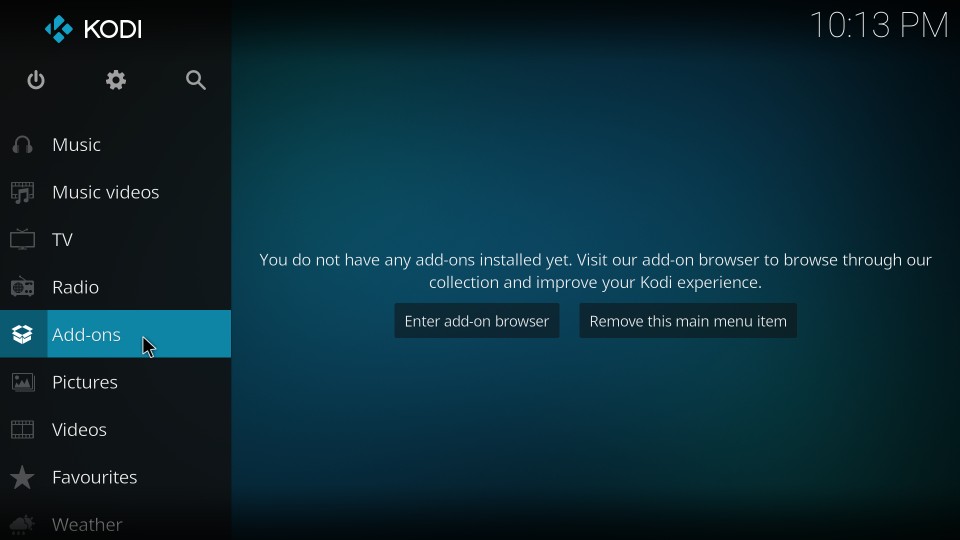
1. Go back to the Kodi home-screen and from there click ‘Add-ons’ on the left panel
2. On the top-right click the ‘Package Installer’ icon (which also looks like the Dropbox icon)

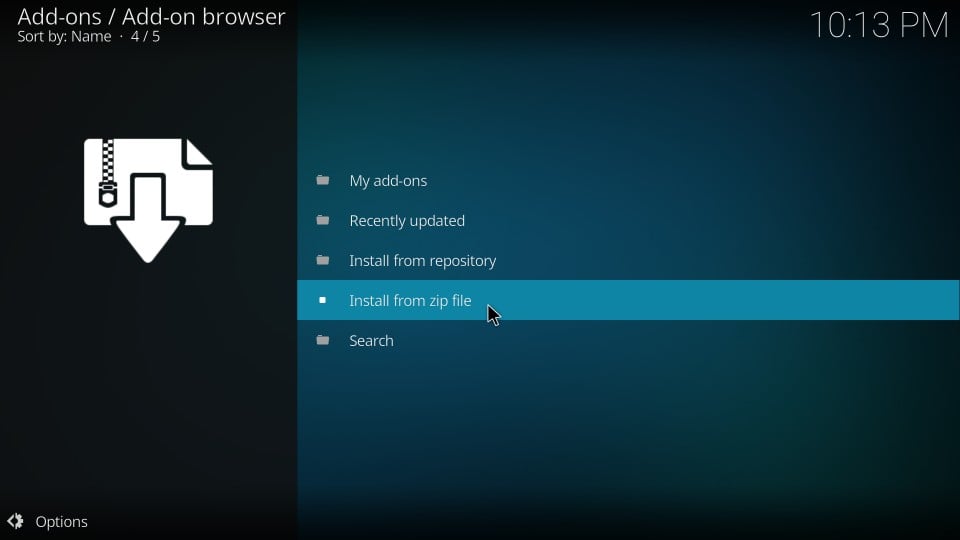
3. Next, select ‘Install from zip file’
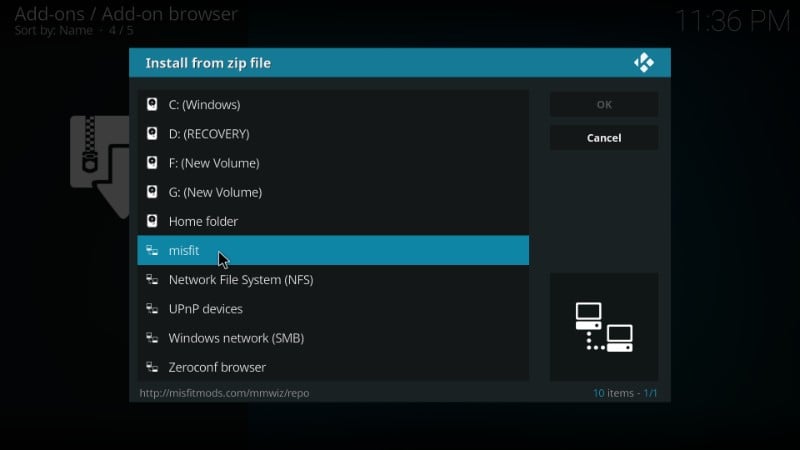
4. Now, scroll down a bit (if you have to) and you should see the source name you added earlier. In our case, we will click ‘misfit’
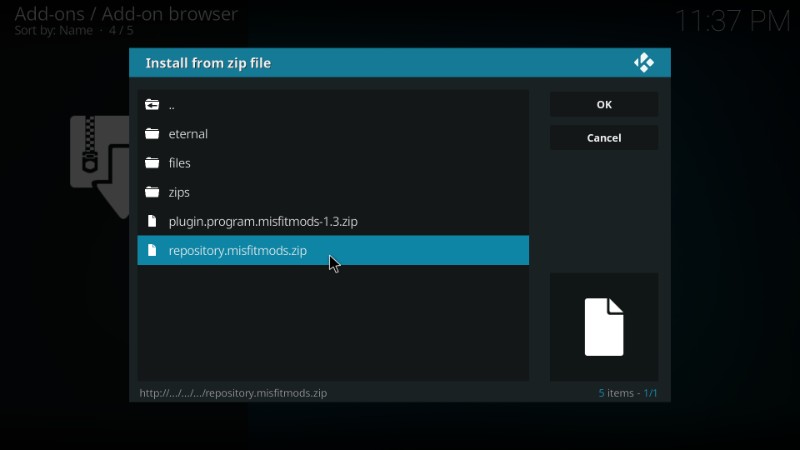
5. You should now see a bunch of folders and zip files. Click the file named ‘repository.misfitmods.zip’
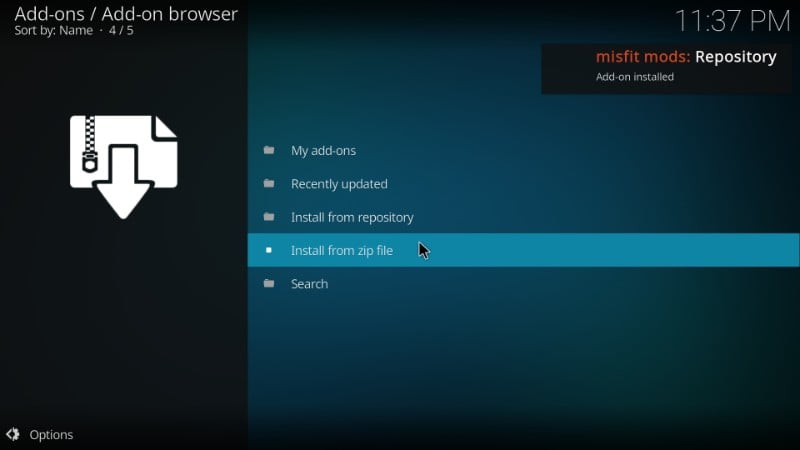
6. This will start installing the Misfit Mods repository from which we will later install the Misfit Mods Wizard and eventually HardNox build on Kodi.
Just wait for the ‘misfit mods: Repository Add-on installed notification’ as you can see on the top-right of the image below
That’s it! You have installed the repository. Now we install the Misfit Mods Wizard.
Install Misfit Mods Wizard from the Misfit Mods Repository
Here is what you need to do:
1. Continue from the last step in the previous section where we waited for the repository installation notification. Or If you are on the Kodi home-screen, just click Add-ons, then click Package Installer icon again on the top-left.
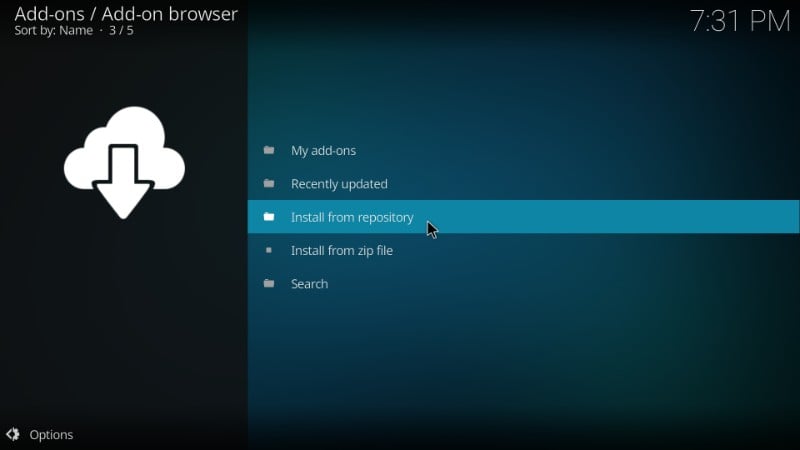
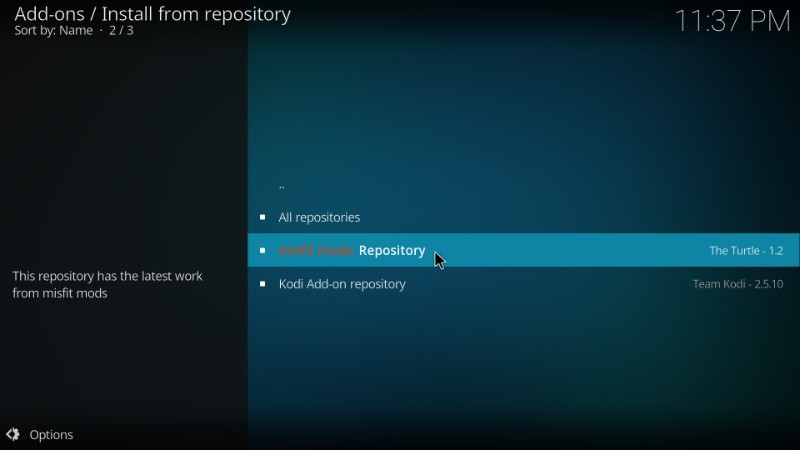
2. Click ‘Install from repository’
3. Click ‘misfit mods: Repository’
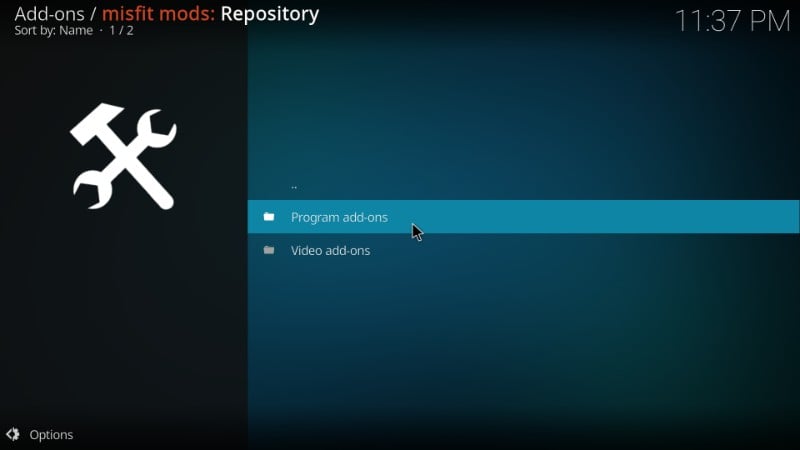
4. Click ‘Program Add-ons’
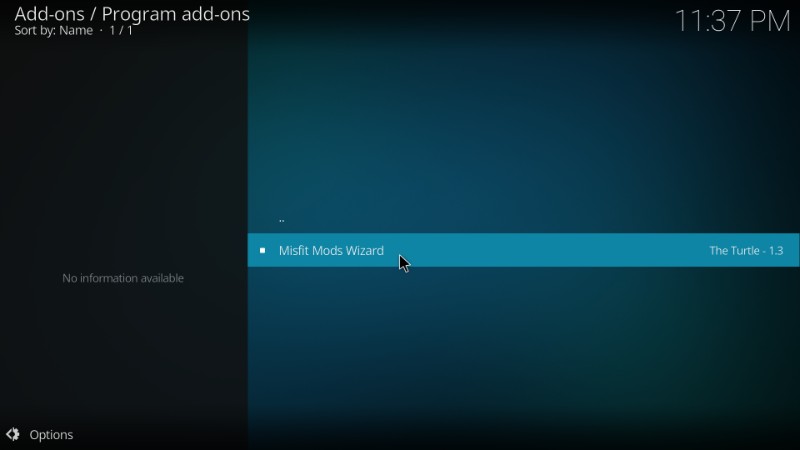
5. Now click ‘Misfit Mods Wizard’
6. Click ‘Install’ on the bottom left (as shown in the image below)
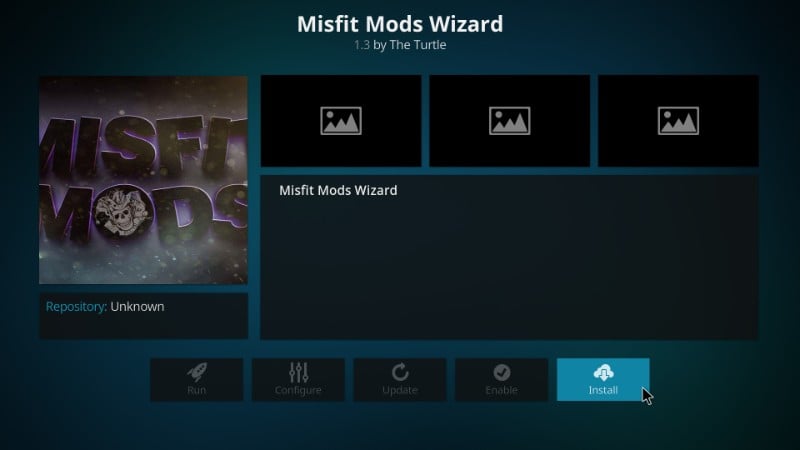
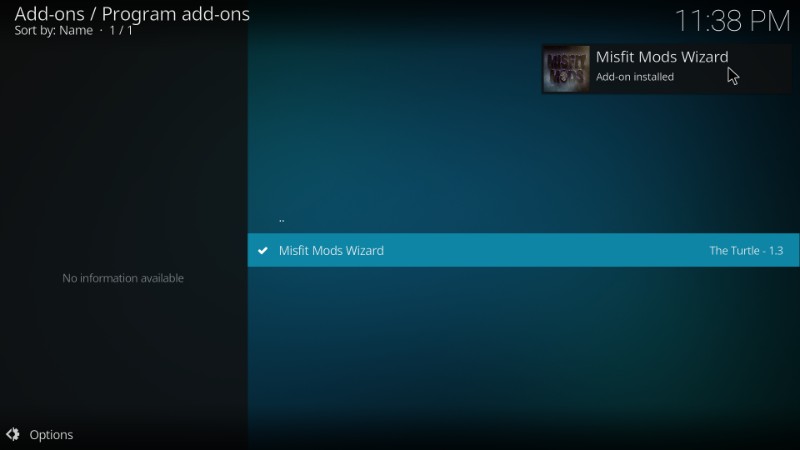
7. When you see the ‘Misfit Mods Wizard Add-on installed’ notification (like in the image below), it means that the Wizard has been installed.
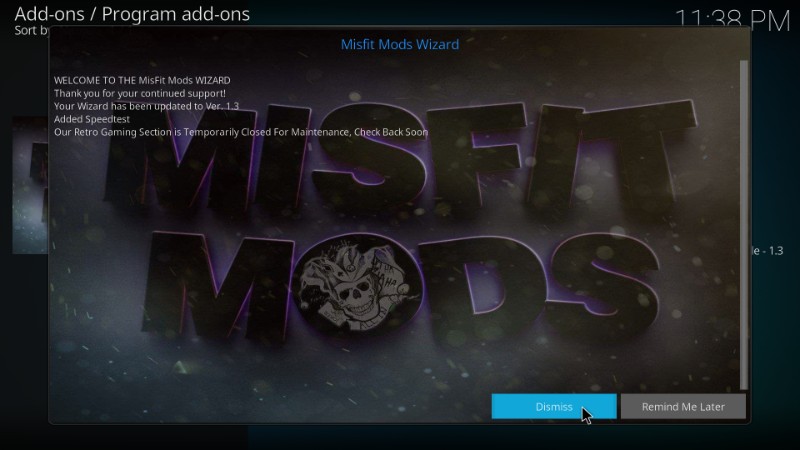
8. The moment the Wizard is installed, you will see this pop-up note from the developers. Select ‘Remind Me Later’ if you want to see this pop-up again. I am going to click ‘Dismiss’
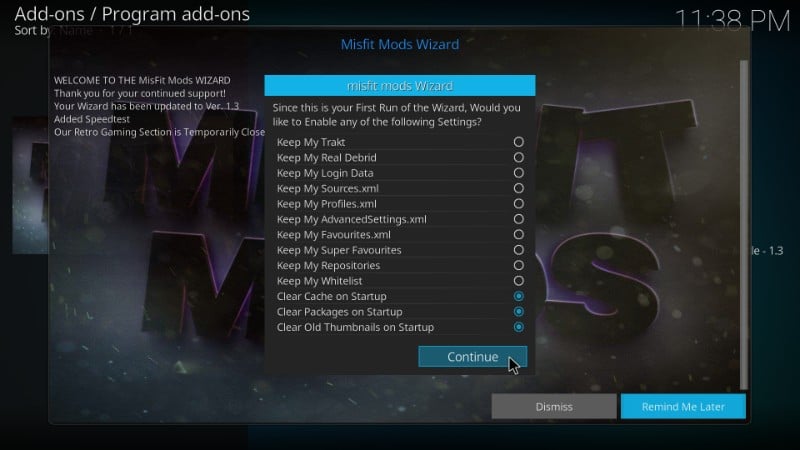
9. You will see another pop-up, this time asking whether you would like to enable any of the listed settings. I am clicking ‘Continue’ as I have nothing to change. If you want to enable any settings, click them before hitting ‘Continue’
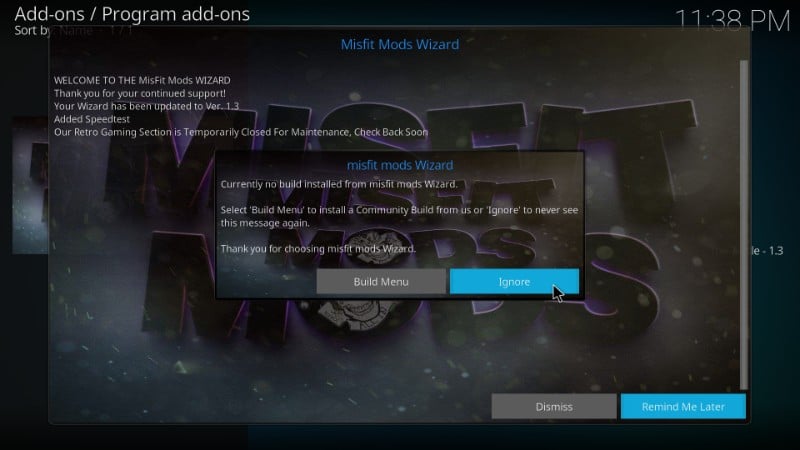
10. One more prompt will appear. To go to the build menu directly, click ‘Build Menu’ button. I am clicking ‘Ignore’ because I will show you how to get to the build menu from the home-screen of Kodi
11. If you see the above three prompts again, just click the Dismiss, Continue and Ignore buttons again
Now, we are going to install the Hard Nox Kodi build from the Misfit Mods Wizard.
Install HardNox build on Kodi using the Misfit Mods Wizard
This is the final part of the process and usually takes the longest. You will want to go to Kodi home-screen for it. This is how it goes:
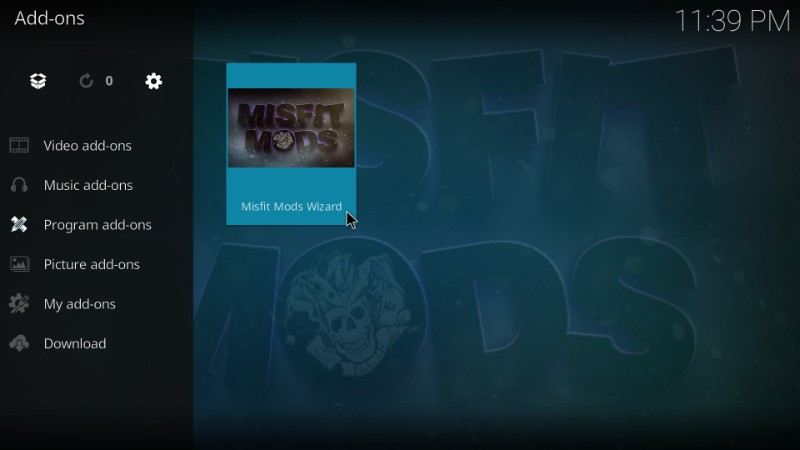
1. From Kodi home-screen go to Add-ons > Program Add-ons. In this section, you will find the Misfit Mods Wizard icon.
2. Click the icon to open the Wizard
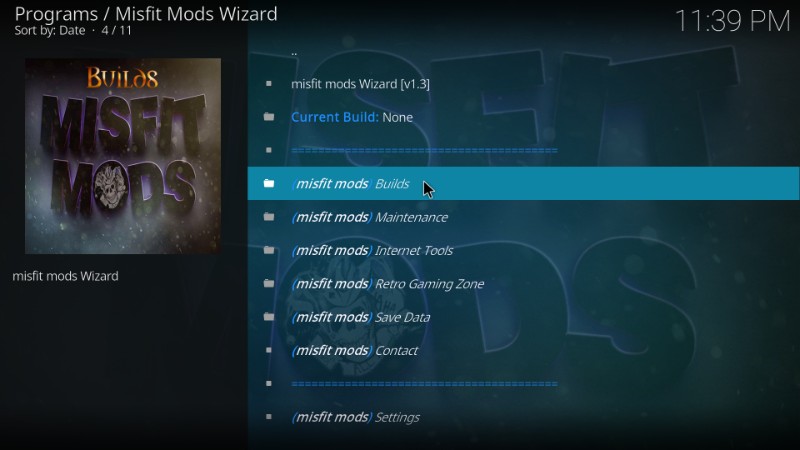
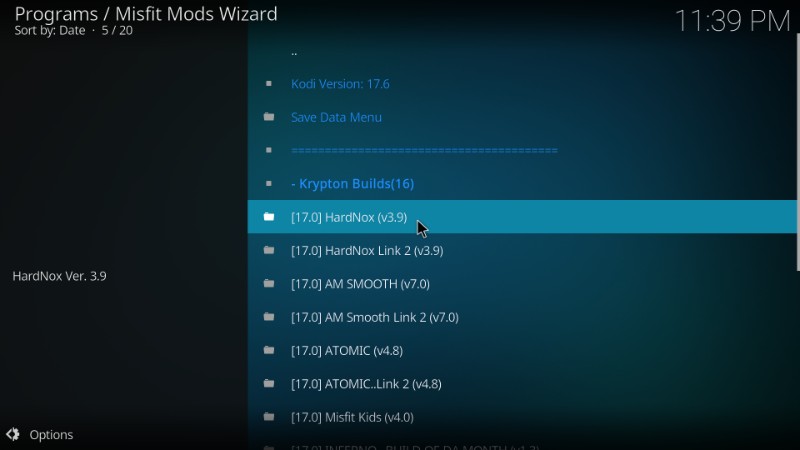
3. Next, click ‘(misfit mods) Builds’. You will now see the HardNox build under the Krypton Builds heading (image below).
As you can see, this build is for Kodi Krypton 17. However, it works just as well with the latest Kodi Krypton 17.6. I have personally used it in the latest version.
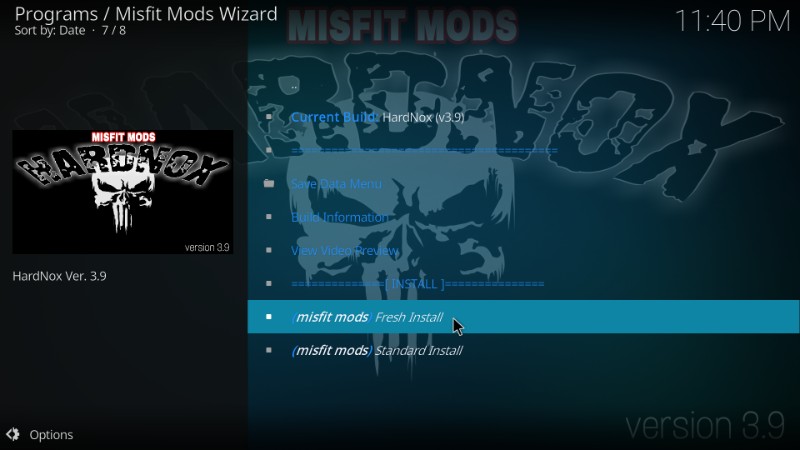
4. Click HardNox build
5. You are presented with two options: Fresh Install and Standard Install.Â
Fresh Install will wipe out all your Kodi data, remove all your addons, and clear all your existing Kodi settings. Standard Install, on the other hand, will retain some of the data.
When I am installing an elaborate build like HardNox, I usually don’t need to retain any data. So, I am going with ‘Fresh Install’. Of course, you may choose Standard Install if you like
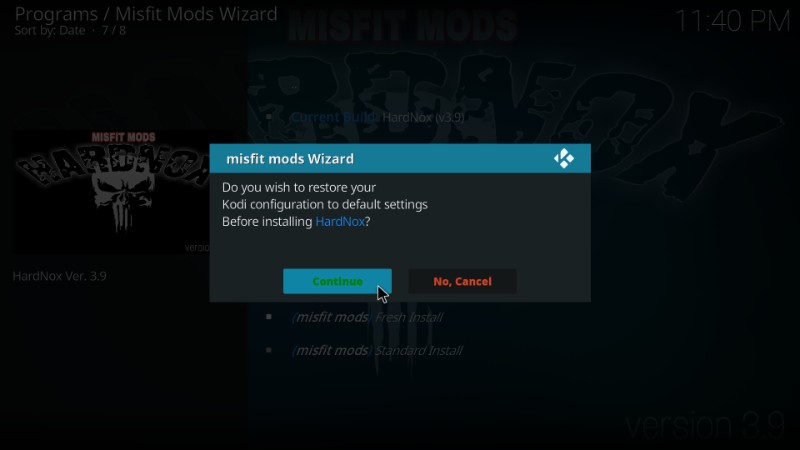
6. Click ‘Continue’ to confirm that you are ready to clear all the Kodi data and reset it to default
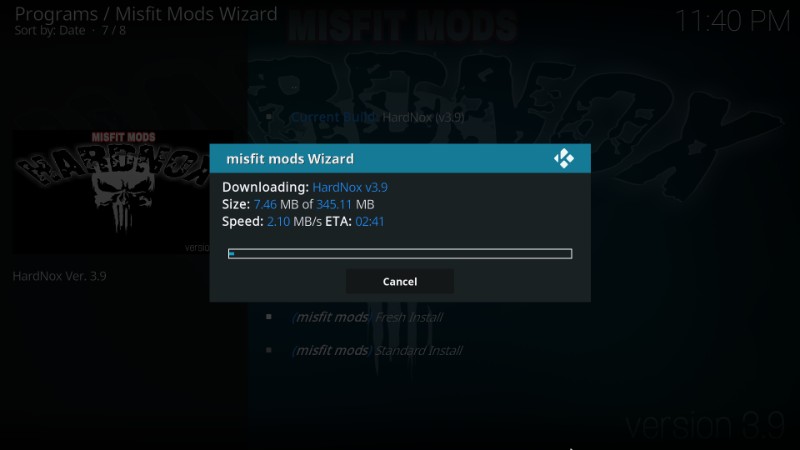
7. Wait for the Hard Nox Kodi build to install
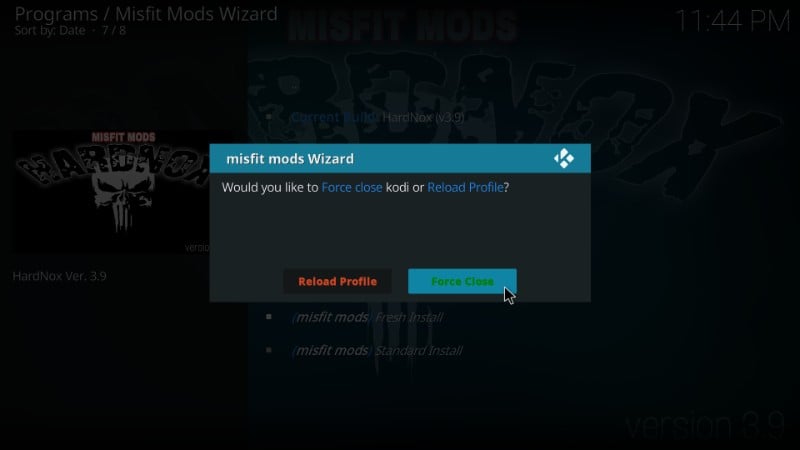
8. When the build is installed, a prompt appears asking you whether you would like to Force Close or Reload Profile. I will go ahead with Force Close because ‘Reload Profile’ mostly crashes Kodi and eventually you have to force close it anyway.
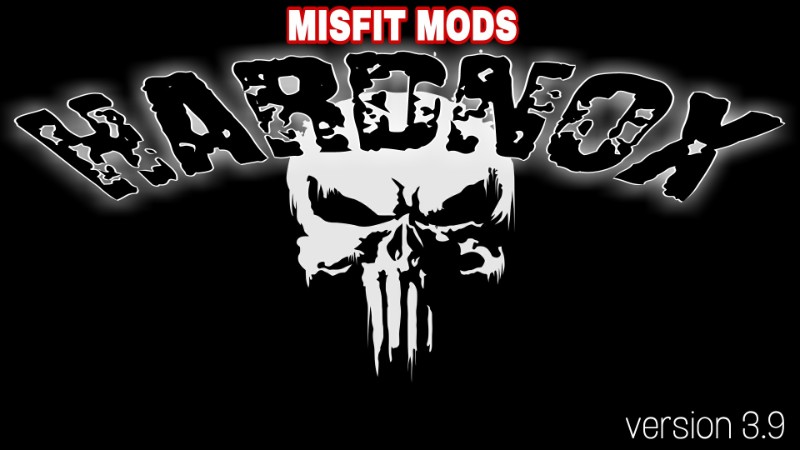
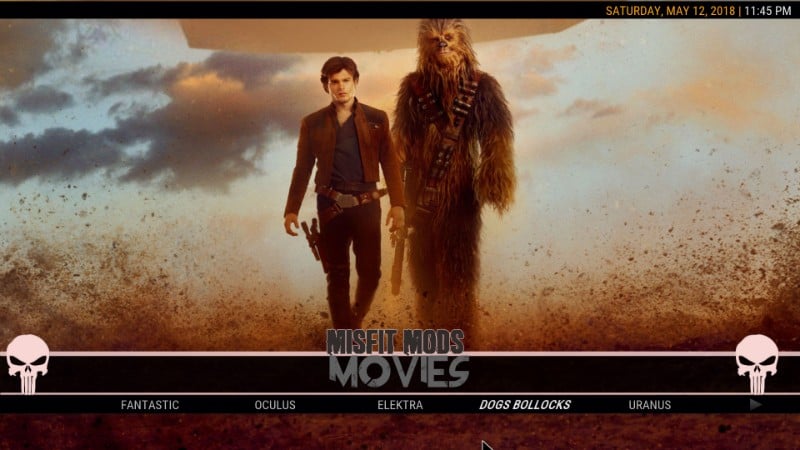
9. You have successfully installed Hard Nox build on Kodi Krypton. Now, run Kodi again and you will see that the loading/booting screen has changed to this from the default
10. This is how the home-screen of Kodi looks like with the HardNox Kodi build. By default, ‘Movies’ option is selected in the menu. As expected, the build is packed with preinstalled addons.
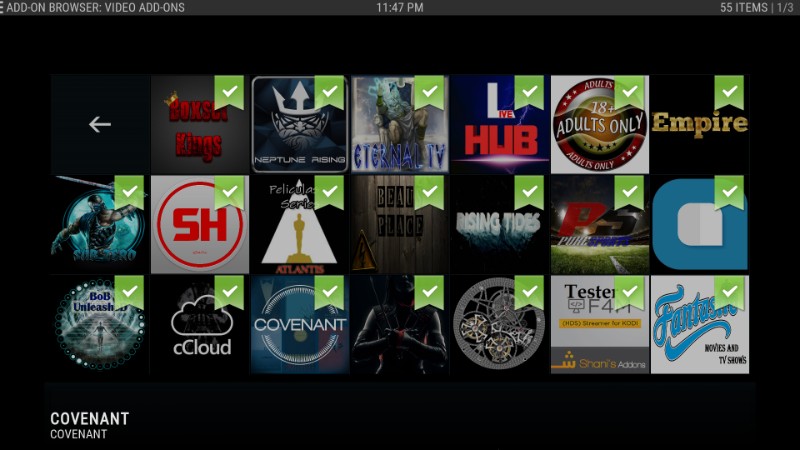
If you would go to Add-ons > Video add-ons from the home screen, you will see the list of all the content related add-ons (check the image below). As you can see, there are some solid addons such as cCloud, Neptune Rising, Covenant, and others.
HardNox build for Kodi has addons for all types of content including Movies, TV Shows, Sports, Live TV, and a lot more.
Wrapping Up
The beauty of Kodi lies in the addons and the builds like Hard Nox make sure you don’t have to work hard to get them. As is evident, Hard Nox Kodi build packs some of the best Kodi addons. I came across this build when I had already upgraded to Krypton 17.6. But, I was surprised to learn that the build designed for version 17.0 worked almost flawlessly with the latest version. What I also like about Hard Nox Kodi build is that it does not slow down my device. It is lighter than a lot of other builds and works smoothly even on Firestick. Yes, I have used HardNox build on FireStick and other devices and barely experienced any performance differences. All in all, it is one solid Kodi build and certainly deserves a try.
Related:
Best Kodi VPN
How to install the Beast Kodi Build
How to install UKodi1 Builds
How to install Kodi Collusion Build
How to install No Limits Magic Kodi Build
Disclaimer –Â Husham.com.com do not host or link to copyright-protected streams. We highly discourage piracy and strictly advise our readers to avoid it at all costs. Any mention of free streaming on our site is purely meant for copyright-free content that is available in the Public domain. Read our full disclaimer.
(function(d, s, id)
var js, fjs = d.getElementsByTagName(s)[0];
if (d.getElementById(id)) return;
js = d.createElement(s); js.id = id;
js.src = “http://connect.facebook.net/en_US/sdk.js#xfbml=1&version=v2.6”;
fjs.parentNode.insertBefore(js, fjs);
(document, ‘script', ‘facebook-jssdk'));
Written by David Minister