In this guide, I am going to show you how to install Kodi Collusion build on Kodi Krypton 17.6 and Kodi 18 Leia. The installation steps in the guide apply to all the Kodi supported devices including FireStick, Windows/Mac PC, Android and more.
The one reason why I prefer Kodi builds is that they come with pre-installed add-ons and spare me the efforts to install them separately. Builds like Kodi Collusion are equipped with the best addons for content on-demand as well as live TV. I have been dallying with a few builds lately and looks like I have found a keeper.
Kodi collusion build packs tons of popular addons and adds many new functions to Kodi. It also adds new visual life to an otherwise bland, default interface of Kodi. Collusion is also the part of our best Kodi builds and deservingly so. The minimal design and fast speed were the instant draw and it seems I am going to stick to Kodi Collusion at least for a while.

Kodi Collusion is a lightweight build, which makes it perfect for FireStick and other streaming devices with limited storage. I am now going to share the steps to install Kodi Collusion build. Keep reading!
Kodi Collusion Build Installation Guide
The first thing you will want to do is allow Kodi to install third-party builds like Kodi Collusion. That requires making some changes to the security settings. Here are the steps:
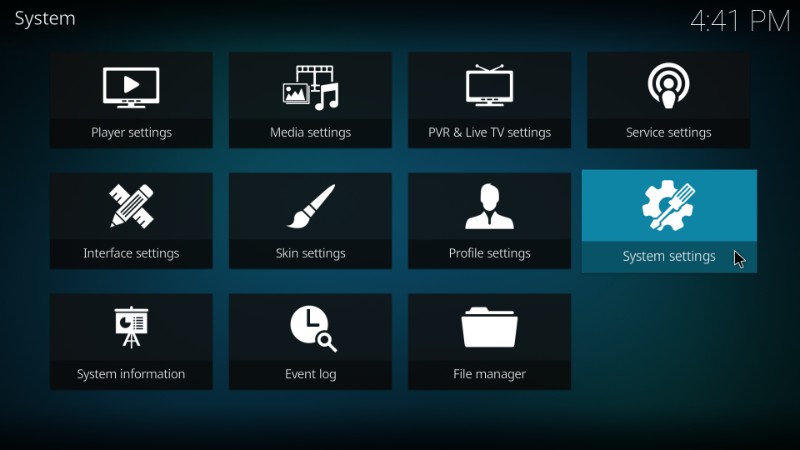
#1. Open ‘Settings’ menu from the Kodi home-screen. It is the cog icon placed under the Kodi logo on the top left. Now, click System Settings on the next screen
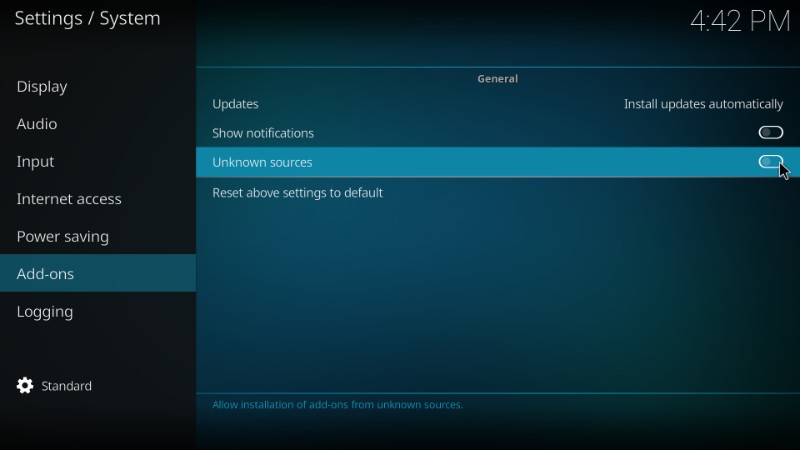
#2. Select ‘Add-ons’ on the left column on the subsequent screen and then click ‘Unknown Sources’ toggle on the right
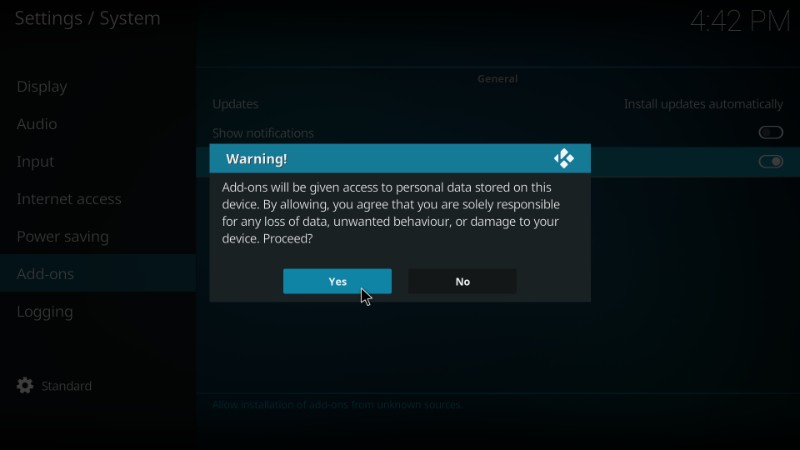
#3. Here’s the warning message you will see. Ignore this message and click ‘Yes’. We are going to install Kodi Collusion Build, which is 100% safe
Now Kodi is ready to install the Kodi collusion build. We are going to divide the installation process into the following three steps:
- Add the Source to Kodi to install One Nation Portal Repository
- Install One Nation Portal repository from the added source
- Install Kodi Collusion Build from the One Nation Portal repository
Let’s go through each part one by one
Step 1: Add the Source to Kodi to install One Nation Portal repository
We are now going to add the URL to Kodi which will point it to the server from where we will later install the One Nation Portal repo. Follow the steps below:
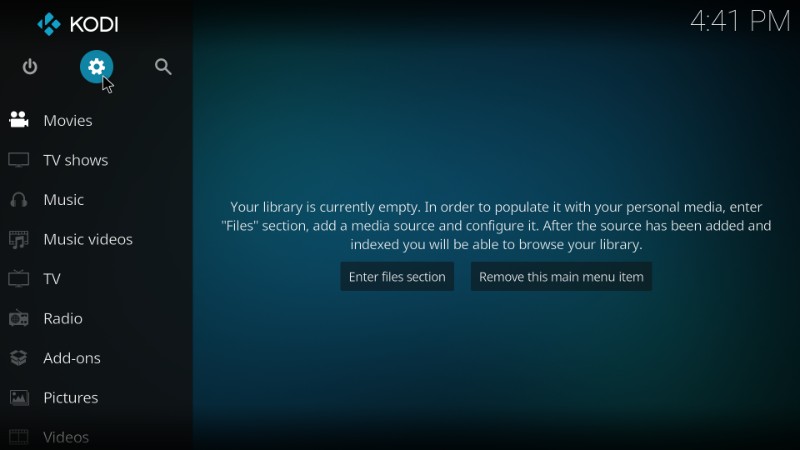
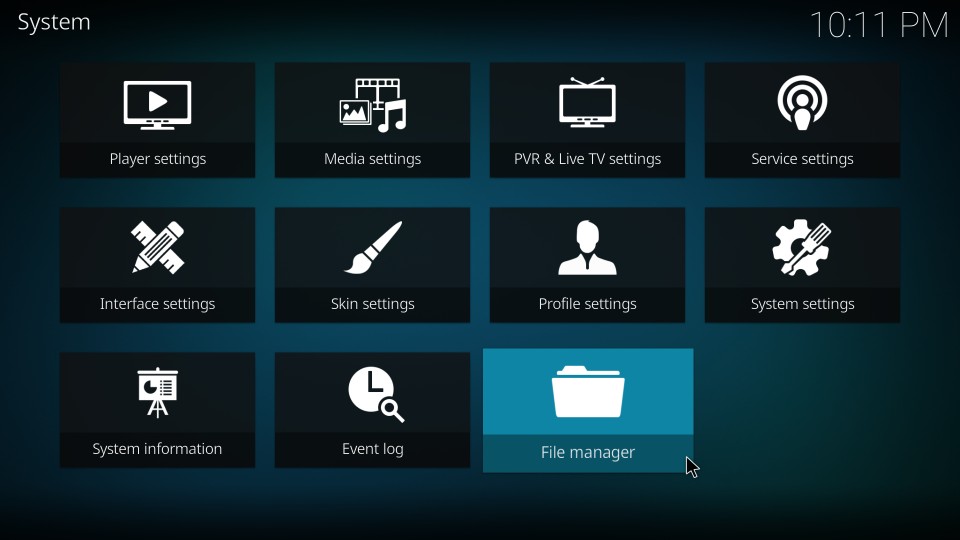
#1. Click ‘Settings’ icon on the Kodi home-screen one more time
#2. This time, on the next screen, click ‘File Manager’ option within Settings
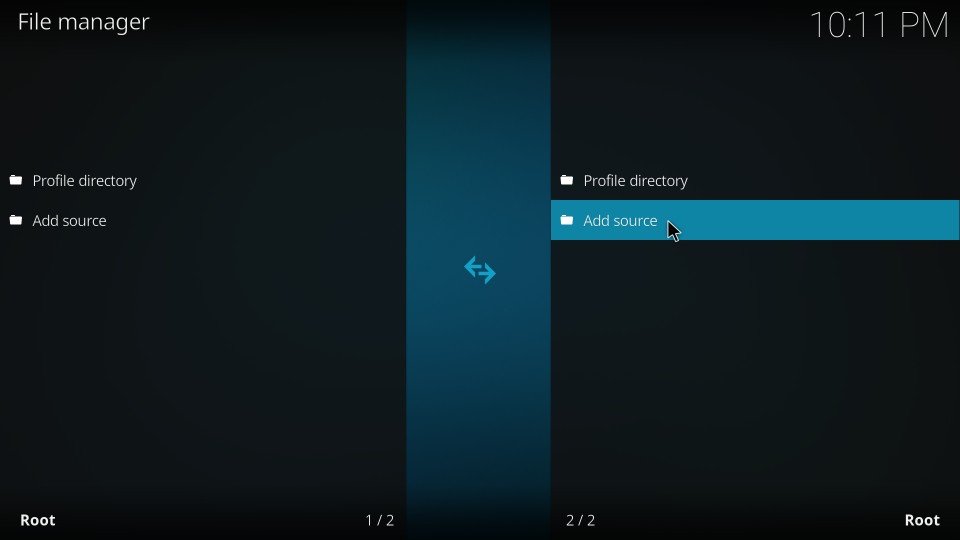
#3. Now go ahead and click ‘Add source’. You may need to scroll down a little to find this option
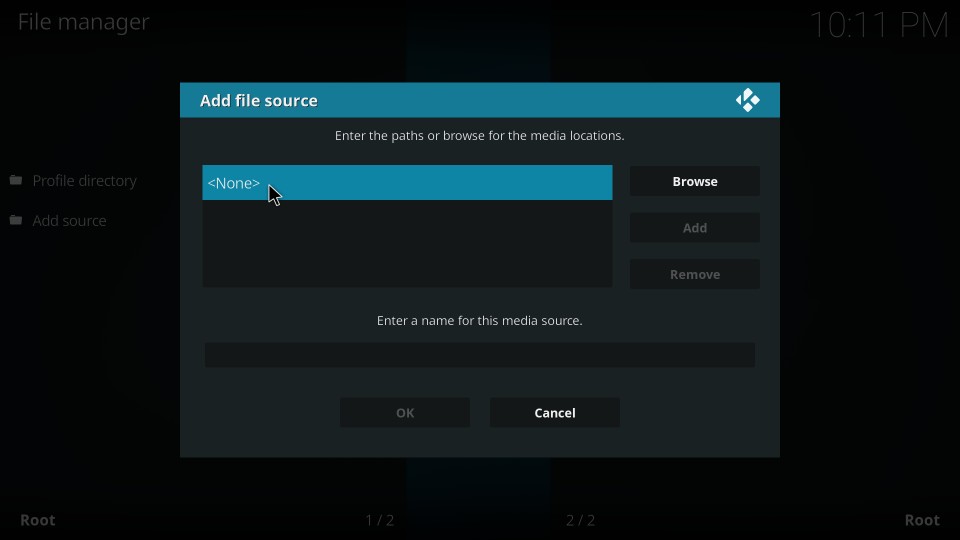
#4. Click ‘None’ when you see the window titled ‘Add file source’
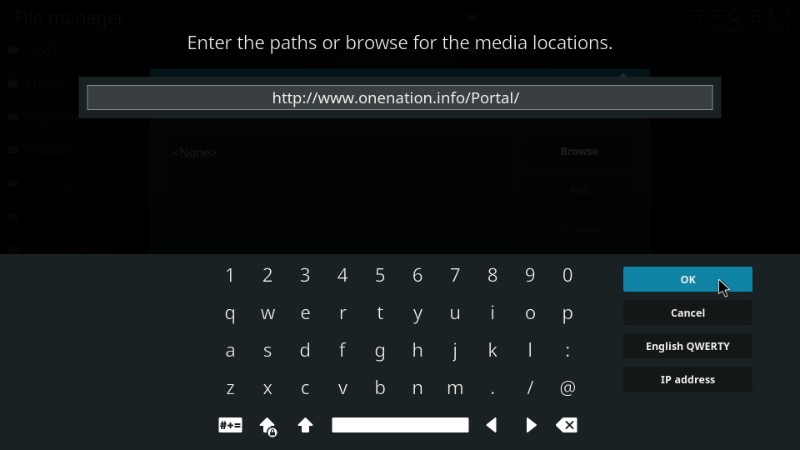
#5. Enter the URL www.onenation.info/Portal/ as shown in the image below and click OK.
Always enter the correct URL to avoid any hassles during installation in the later steps
#6. Now type in the name of the source in the ‘Enter a name for this media source’ field and click ‘OK’. It could be any name of your choice you would like to identify this source with. To make it relevant to the source, I am naming it OneNation in this guide.

Step 2: Install One Nation Portal repository from the added source
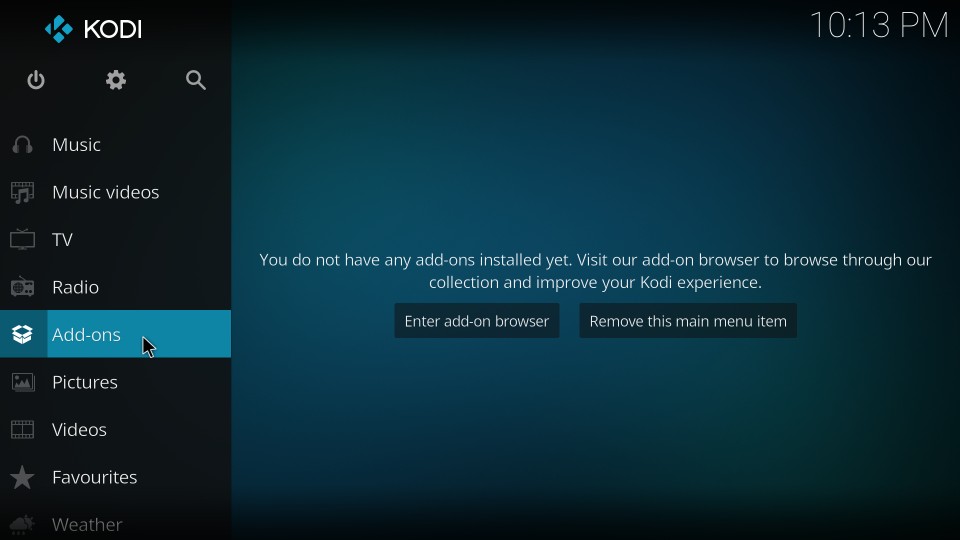
#1. The source has thus been added. Now, go back to the Kodi home-screen and click ‘Add-ons’ on the left column
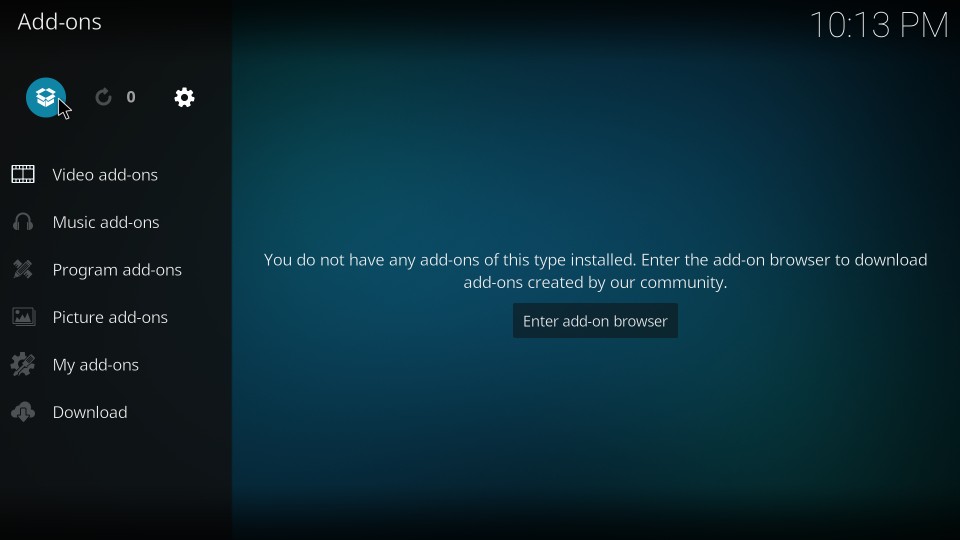
#2. Now highlight and click the ‘Package Installer’ option on the top-left corner of the following screen
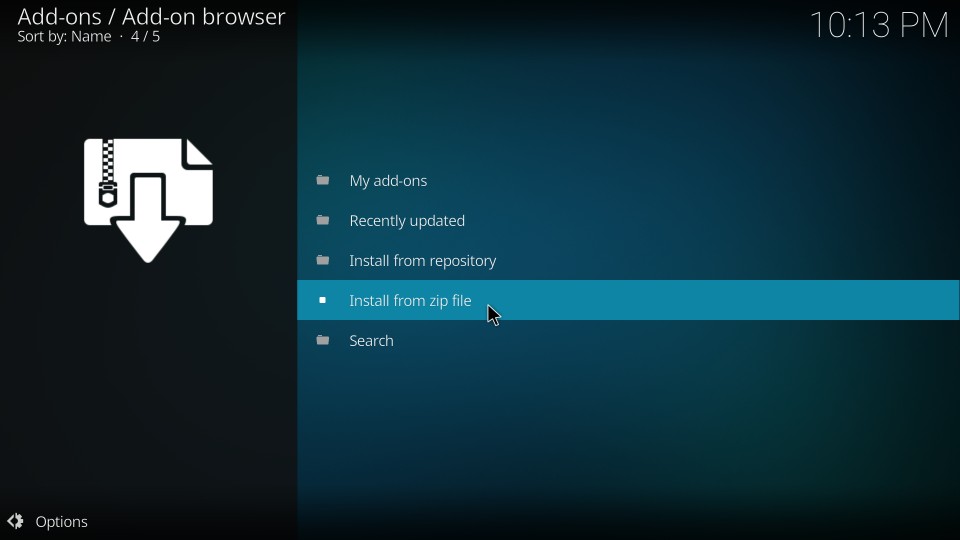
#3. Go ahead and click ‘Install from zip file’
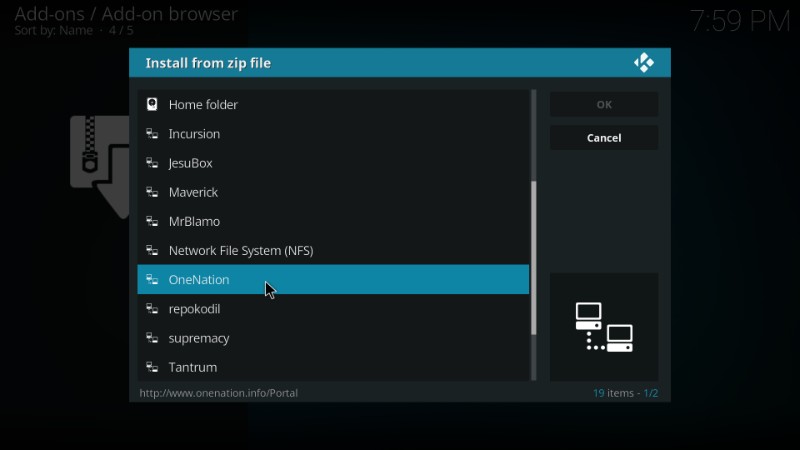
#4. Click ‘OneNation’ (or the name you chose for the source earlier)
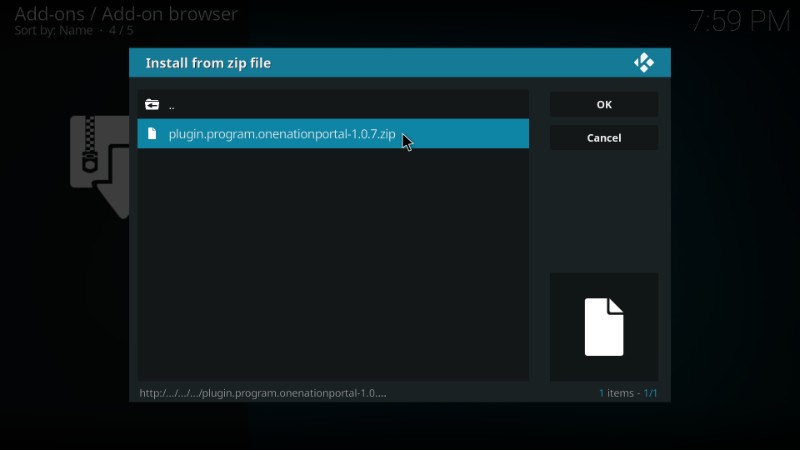
#5. Click ‘plugin.program.onenationporal-1.0.7.zip’ file. Here, the numbers 1.0.7 in the zip filename represent the version number. This may vary if the new version is released in the future.
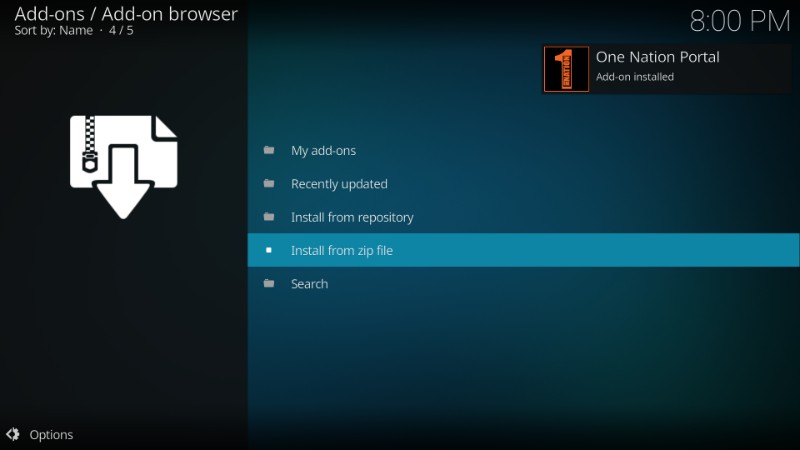
#6. Wait for the ‘One Nation Portal Add-on installed’ notification. It may take 1-2 minutes to appear
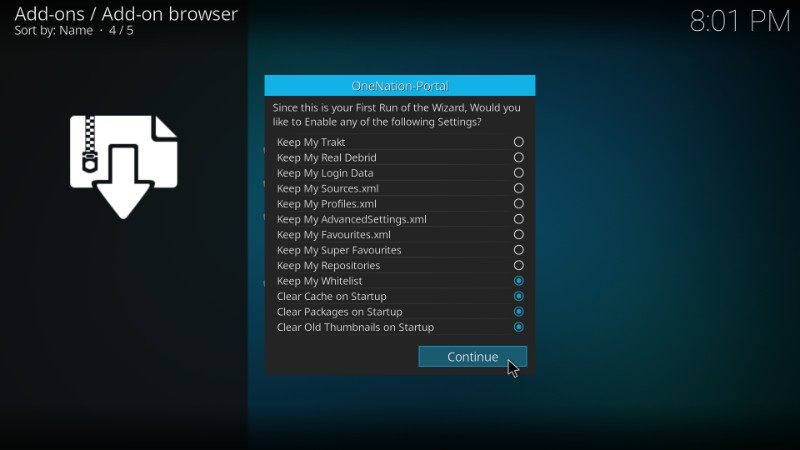
#7. Now you should see the following pop-up asking whether you would like to enable any of the listed Settings. If you want to enable a setting, go ahead and check it. Once you have chosen what you wish to enable, click ‘Continue’ button on the bottom. I am going to leave everything to default and click ‘Continue’ straightaway.
#8. Another window will pop up. You could directly go to the Build Menu or Ignore it and navigate to the menu later. I am hitting ‘Ignore’ for now so that I can show you how to go to it from the Kodi home-screen.
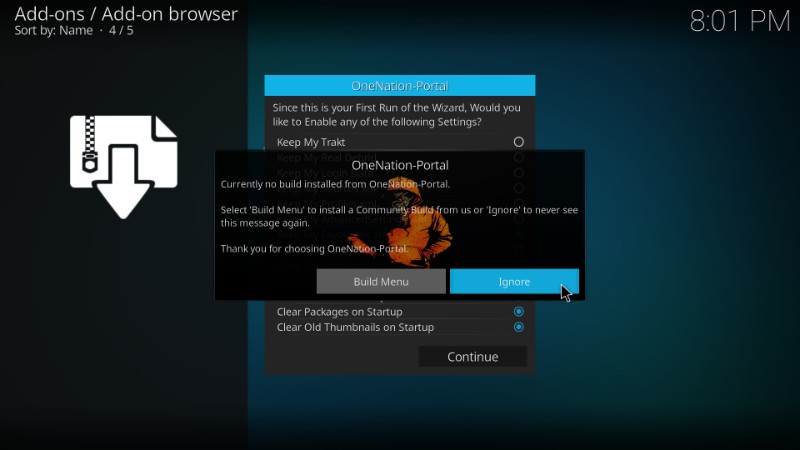
You will need to click ‘Continue’ and ‘Ignore’ again to get rid of these pop-ups.
You have successfully installed the One Nation Portal repository. Now, we will learn to install Kodi Collusion Build from this repo.
Step 3: Install Kodi Collusion Build from the One Nation Portal repository
The only thing you are left with is the installation of Kodi Collusion Build. Follow these steps to install this build:
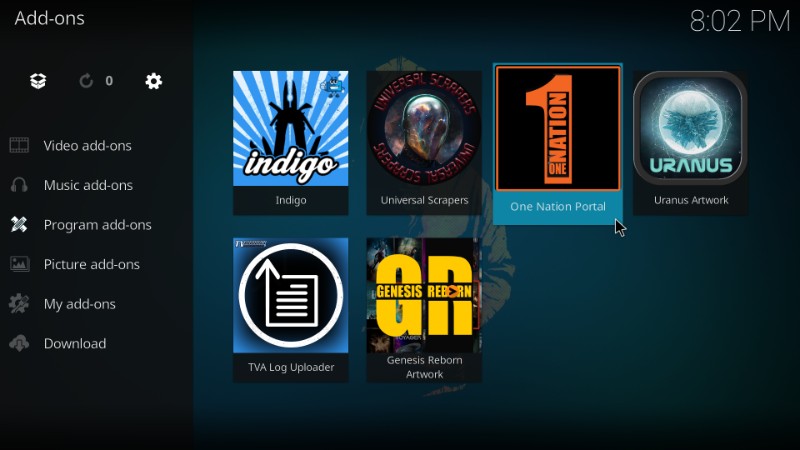
#1. Return to the home-screen of Kodi and navigate to Add-ons> Program Add-ons. You will see the One Nation Portal icon here (see the image below). Click this icon to proceed
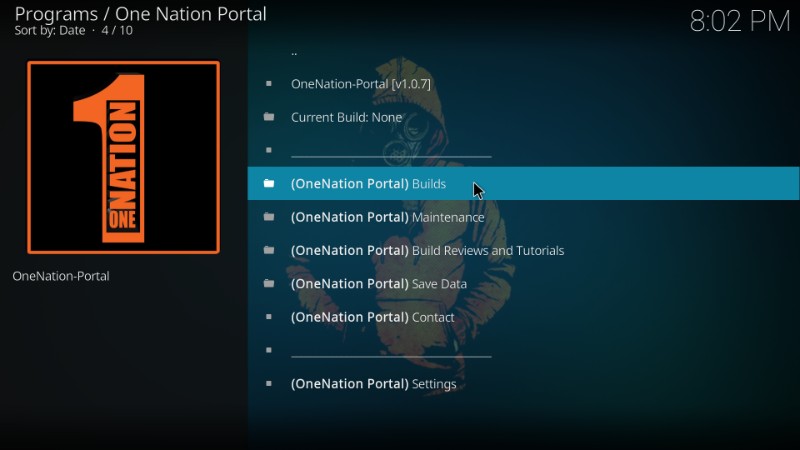
#2. Click ‘(OneNation Portal) Builds option
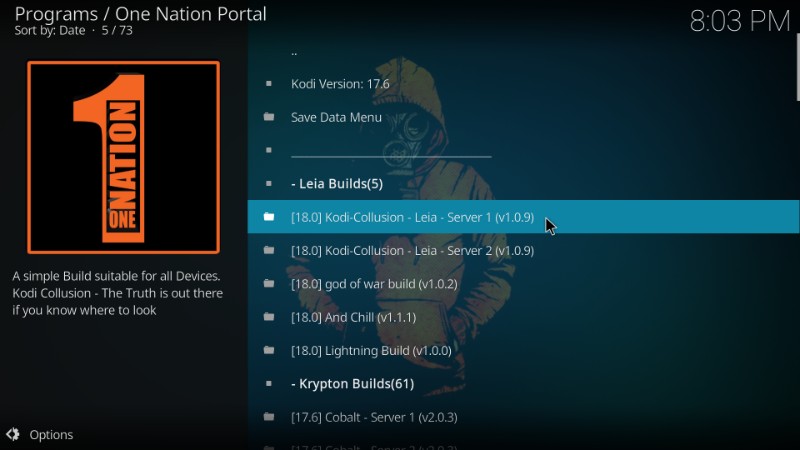
#3. As you can see in the image below, Kodi Collusion build has already been released for the upcoming Kodi 18 Leia version. However, the stable version of Kodi Leia hasn’t been released yet. If you are one of the few who have access to the Leia version, go ahead and click the Kodi Collusion build for this version. If not, skip to the next step
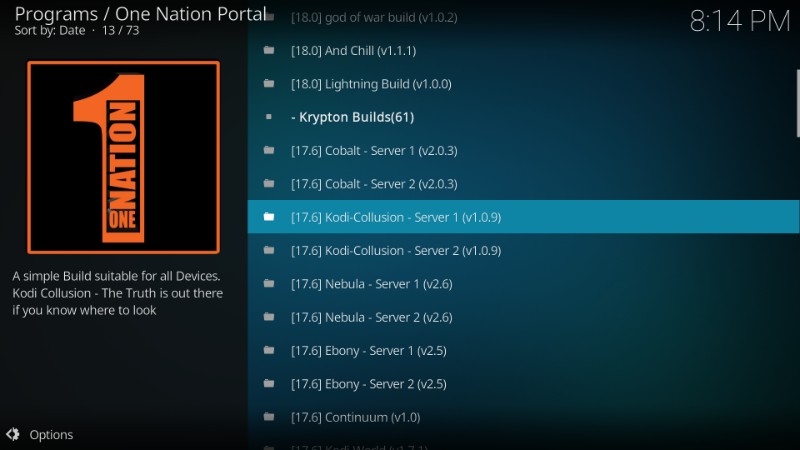
#4. Scroll down to and click Kodi-Collusion version under the Krypton Builds (image below)
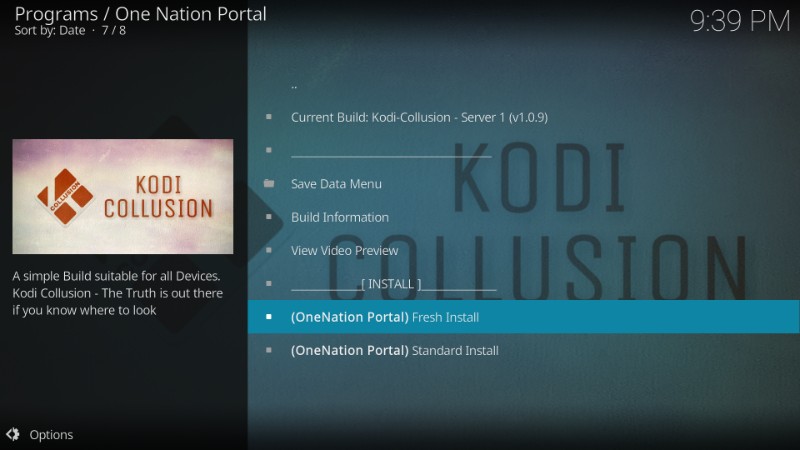
#5. You will be presented with two installation options – Fresh and Standard.
Choosing Fresh will first reset Kodi to default factory settings and remove all your existing addons, settings, etc. Standard installation will retain some addons and settings. I am going to choose ‘Fresh’ as I have nothing to retain. But, it is totally your choice.
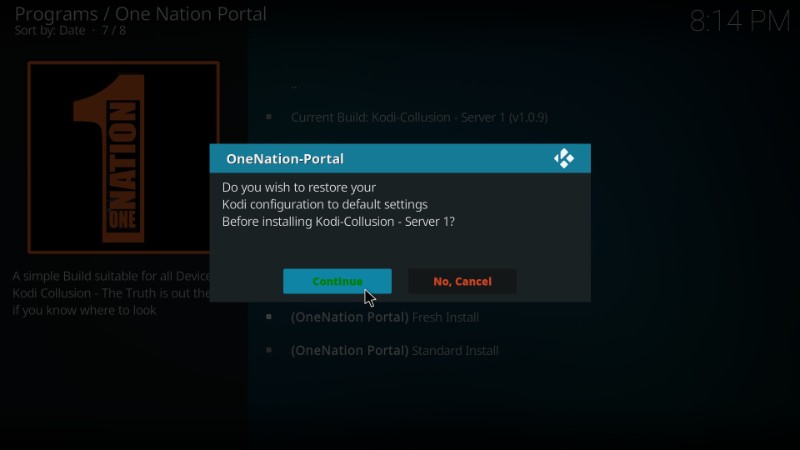
#6. Kodi will now ask you if you wish to restore the Kodi configuration to default settings. Click ‘Continue’
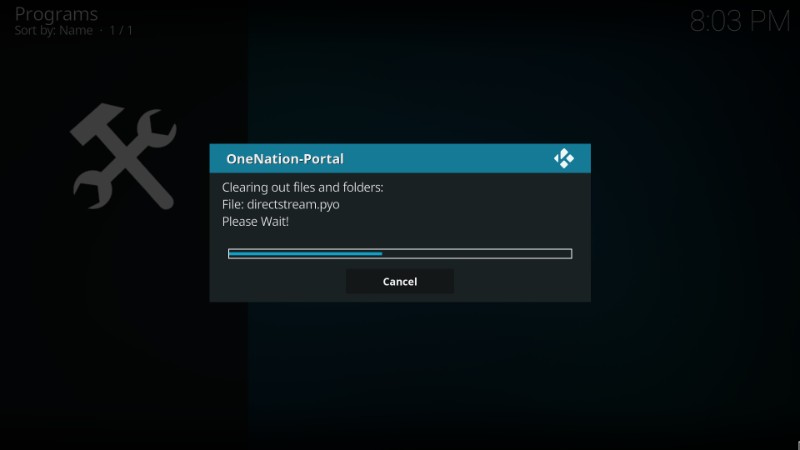
#7. Installation of Kodi Collusion build will now start. It may take 3-4 minutes to install this build.
#8. When the build is installed, you will see the following message. ‘Reload Profile’ option doesn’t really do much. So, I am going to click ‘Force Close.’
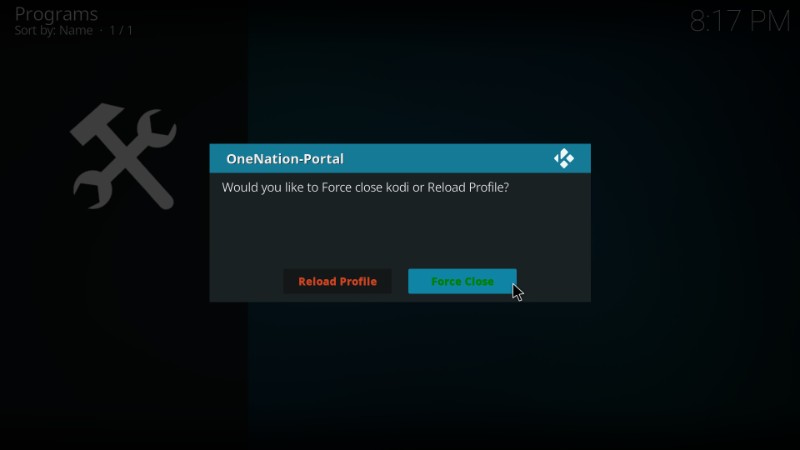
Kodi will now close. You have installed Kodi Collusion Build successfully. Relaunch Kodi and the home-screen of Kodi will change to this

I really like this interface. It looks cool! Go ahead and explore this build. You will find plenty of pre-installed addons here. As you can see in the image above, Placenta, Dogs Bollocks, and other addons are already there.
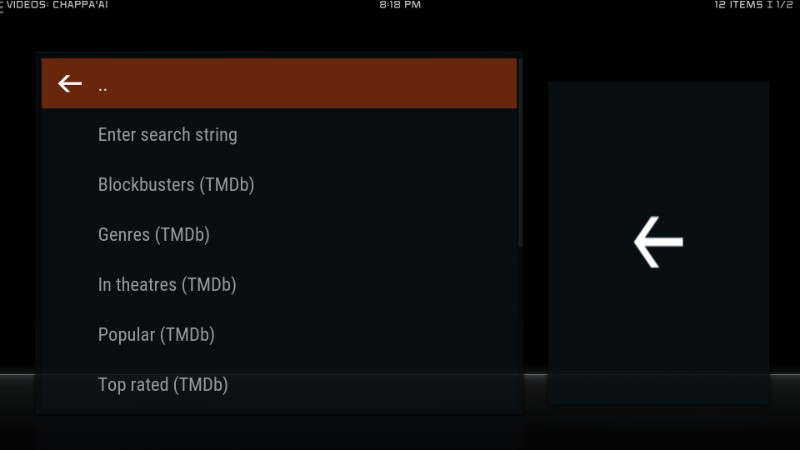
Click ‘Movies’ and you will see the following options (image below). In the same way, you can explore other menu items.
So, this is how we install Kodi Collusion build on Kodi.
Conclusion
Kodi Collusion build puts together many popular addons together so that you don’t have to install them separately. This guide is an attempt to help you install this build quickly and easily. If you have any questions or suggestions, feel free to let us know through the comments section below.
Related:
How to install Durex Build
How to install Titanium Build
How to install Kodi
Best Kodi VPN
Disclaimer –Â Husham.com.com do not host or link to copyright-protected streams. We highly discourage piracy and strictly advise our readers to avoid it at all costs. Any mention of free streaming on our site is purely meant for copyright-free content that is available in the Public domain. Read our full disclaimer.
(function(d, s, id)
var js, fjs = d.getElementsByTagName(s)[0];
if (d.getElementById(id)) return;
js = d.createElement(s); js.id = id;
js.src = “http://connect.facebook.net/en_US/sdk.js#xfbml=1&version=v2.6”;
fjs.parentNode.insertBefore(js, fjs);
(document, ‘script', ‘facebook-jssdk'));
Written by David Minister
